-
Recent Posts
Recent Comments
Archives
Categories
Author Archives: pyrocam
Making a Spot Welder from an old microwave Part 3
Time to put the final product together.

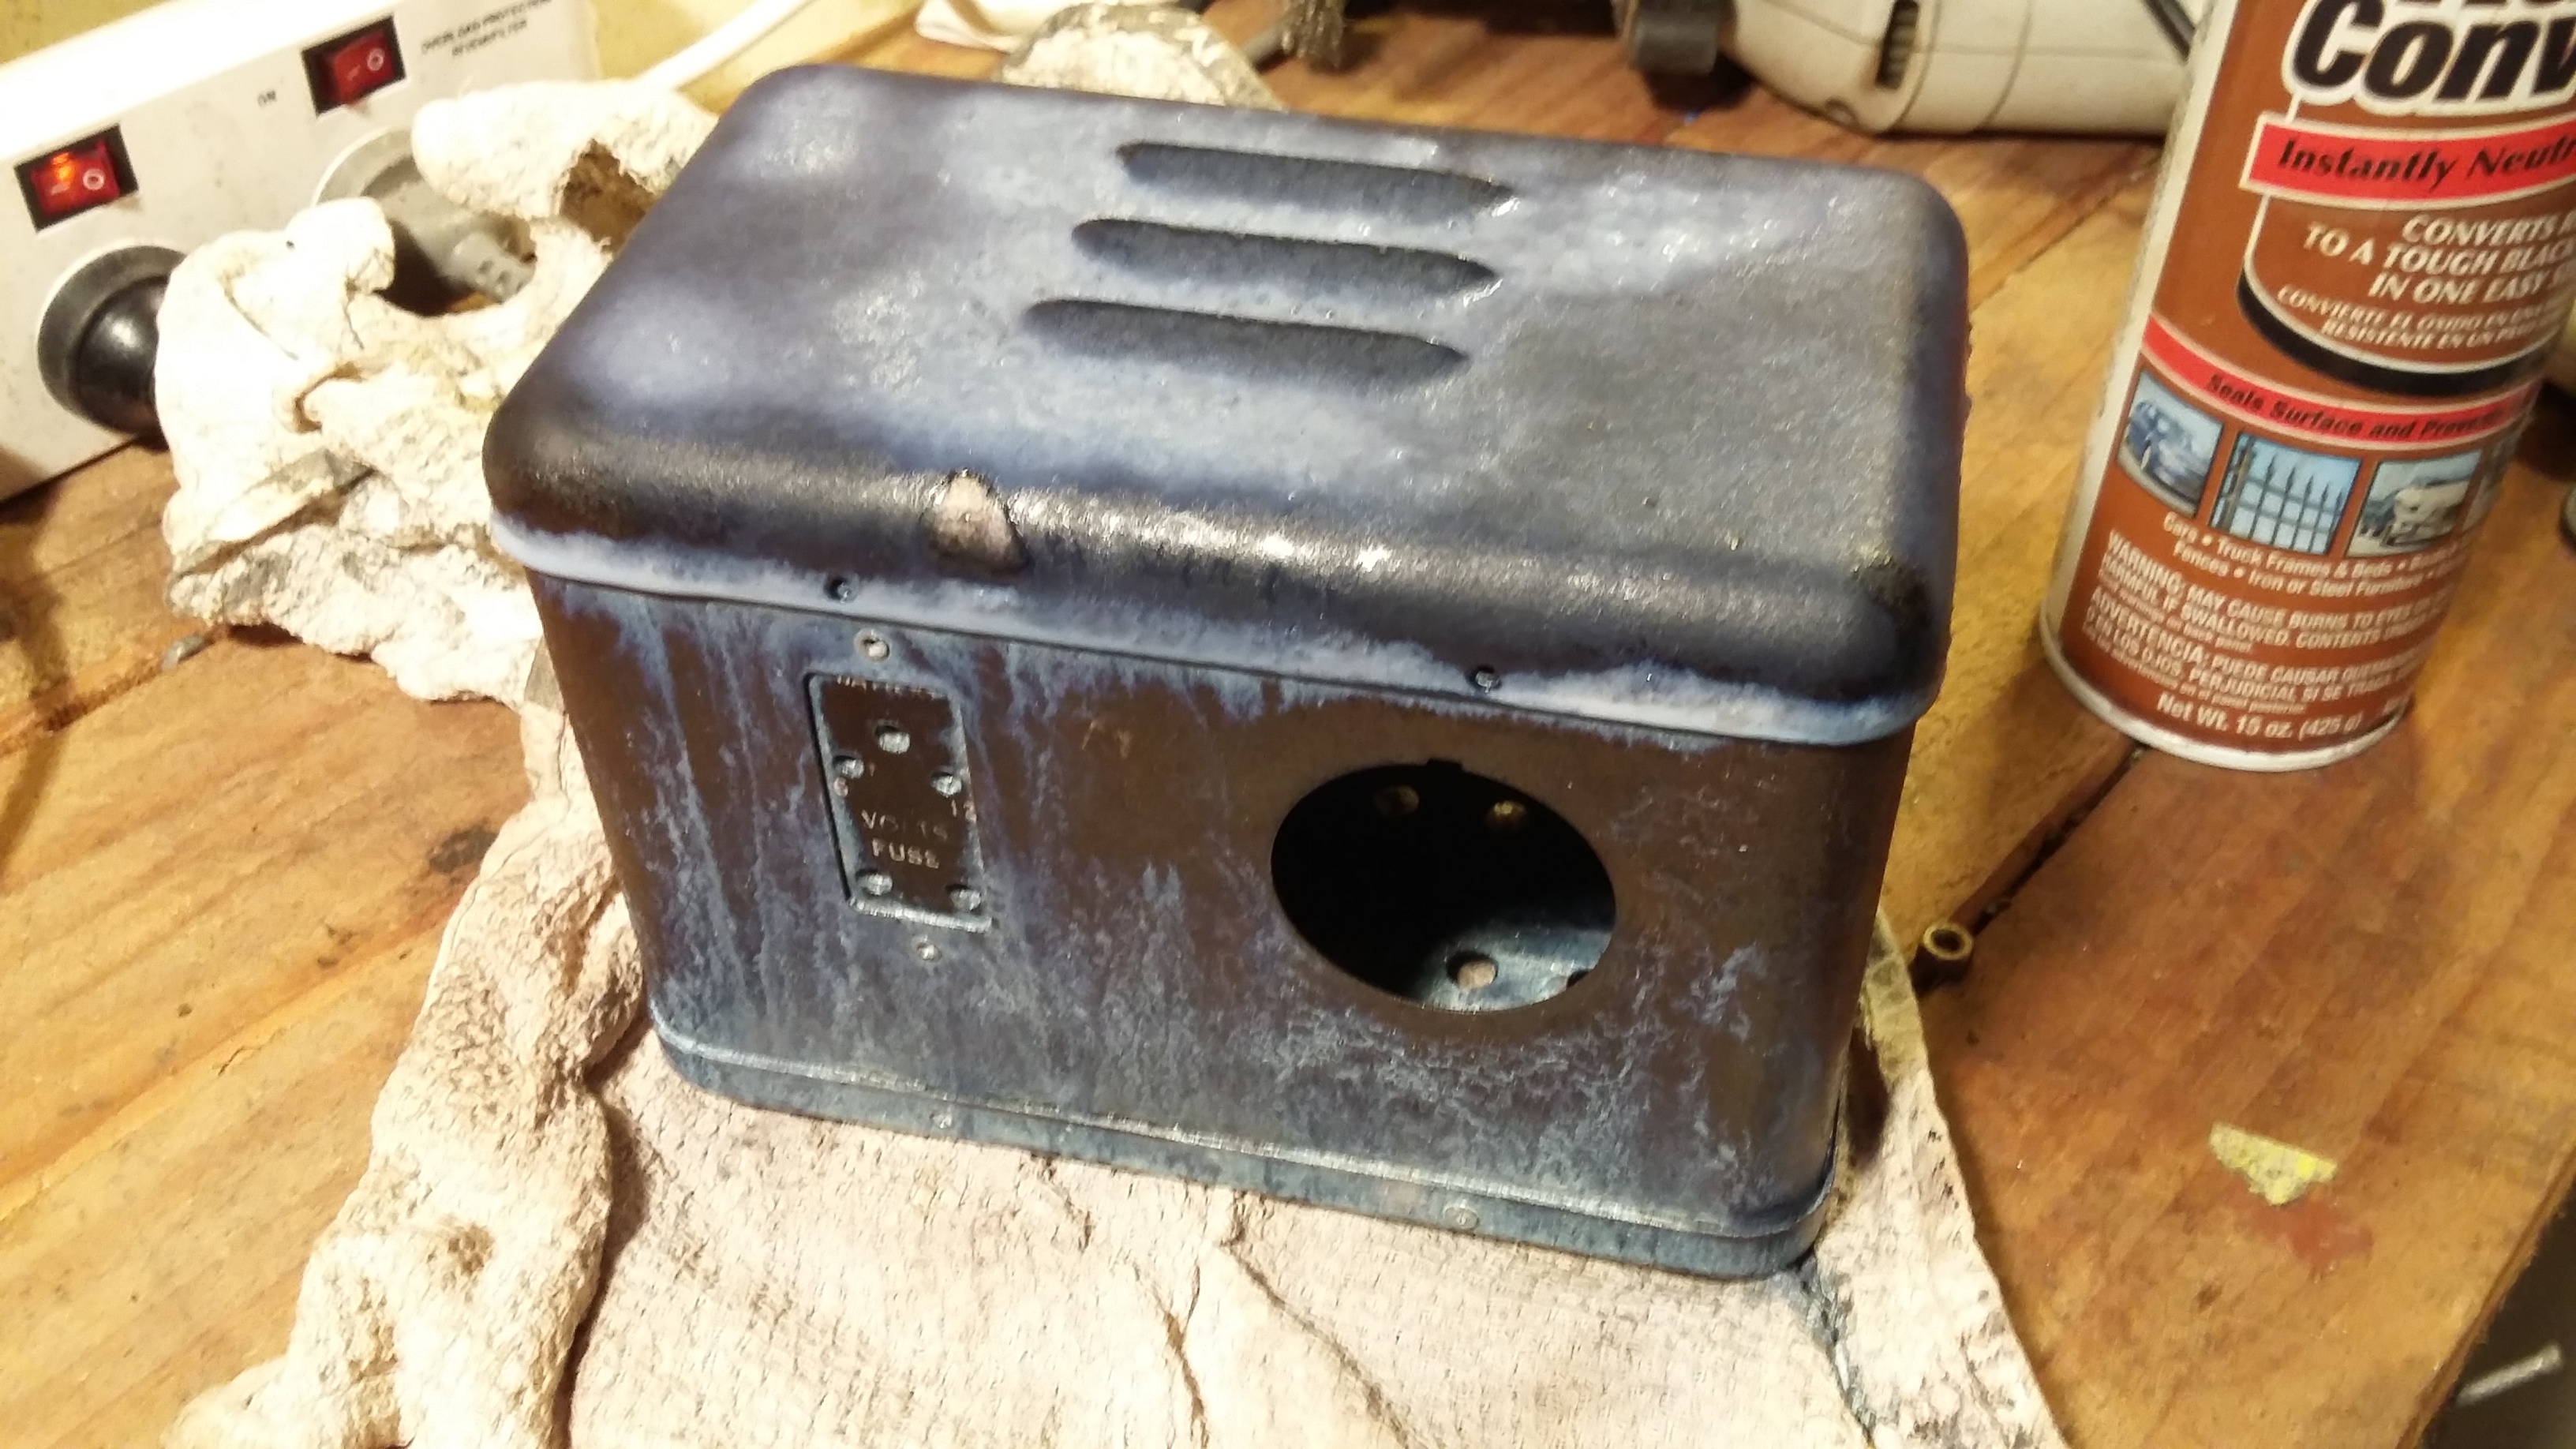
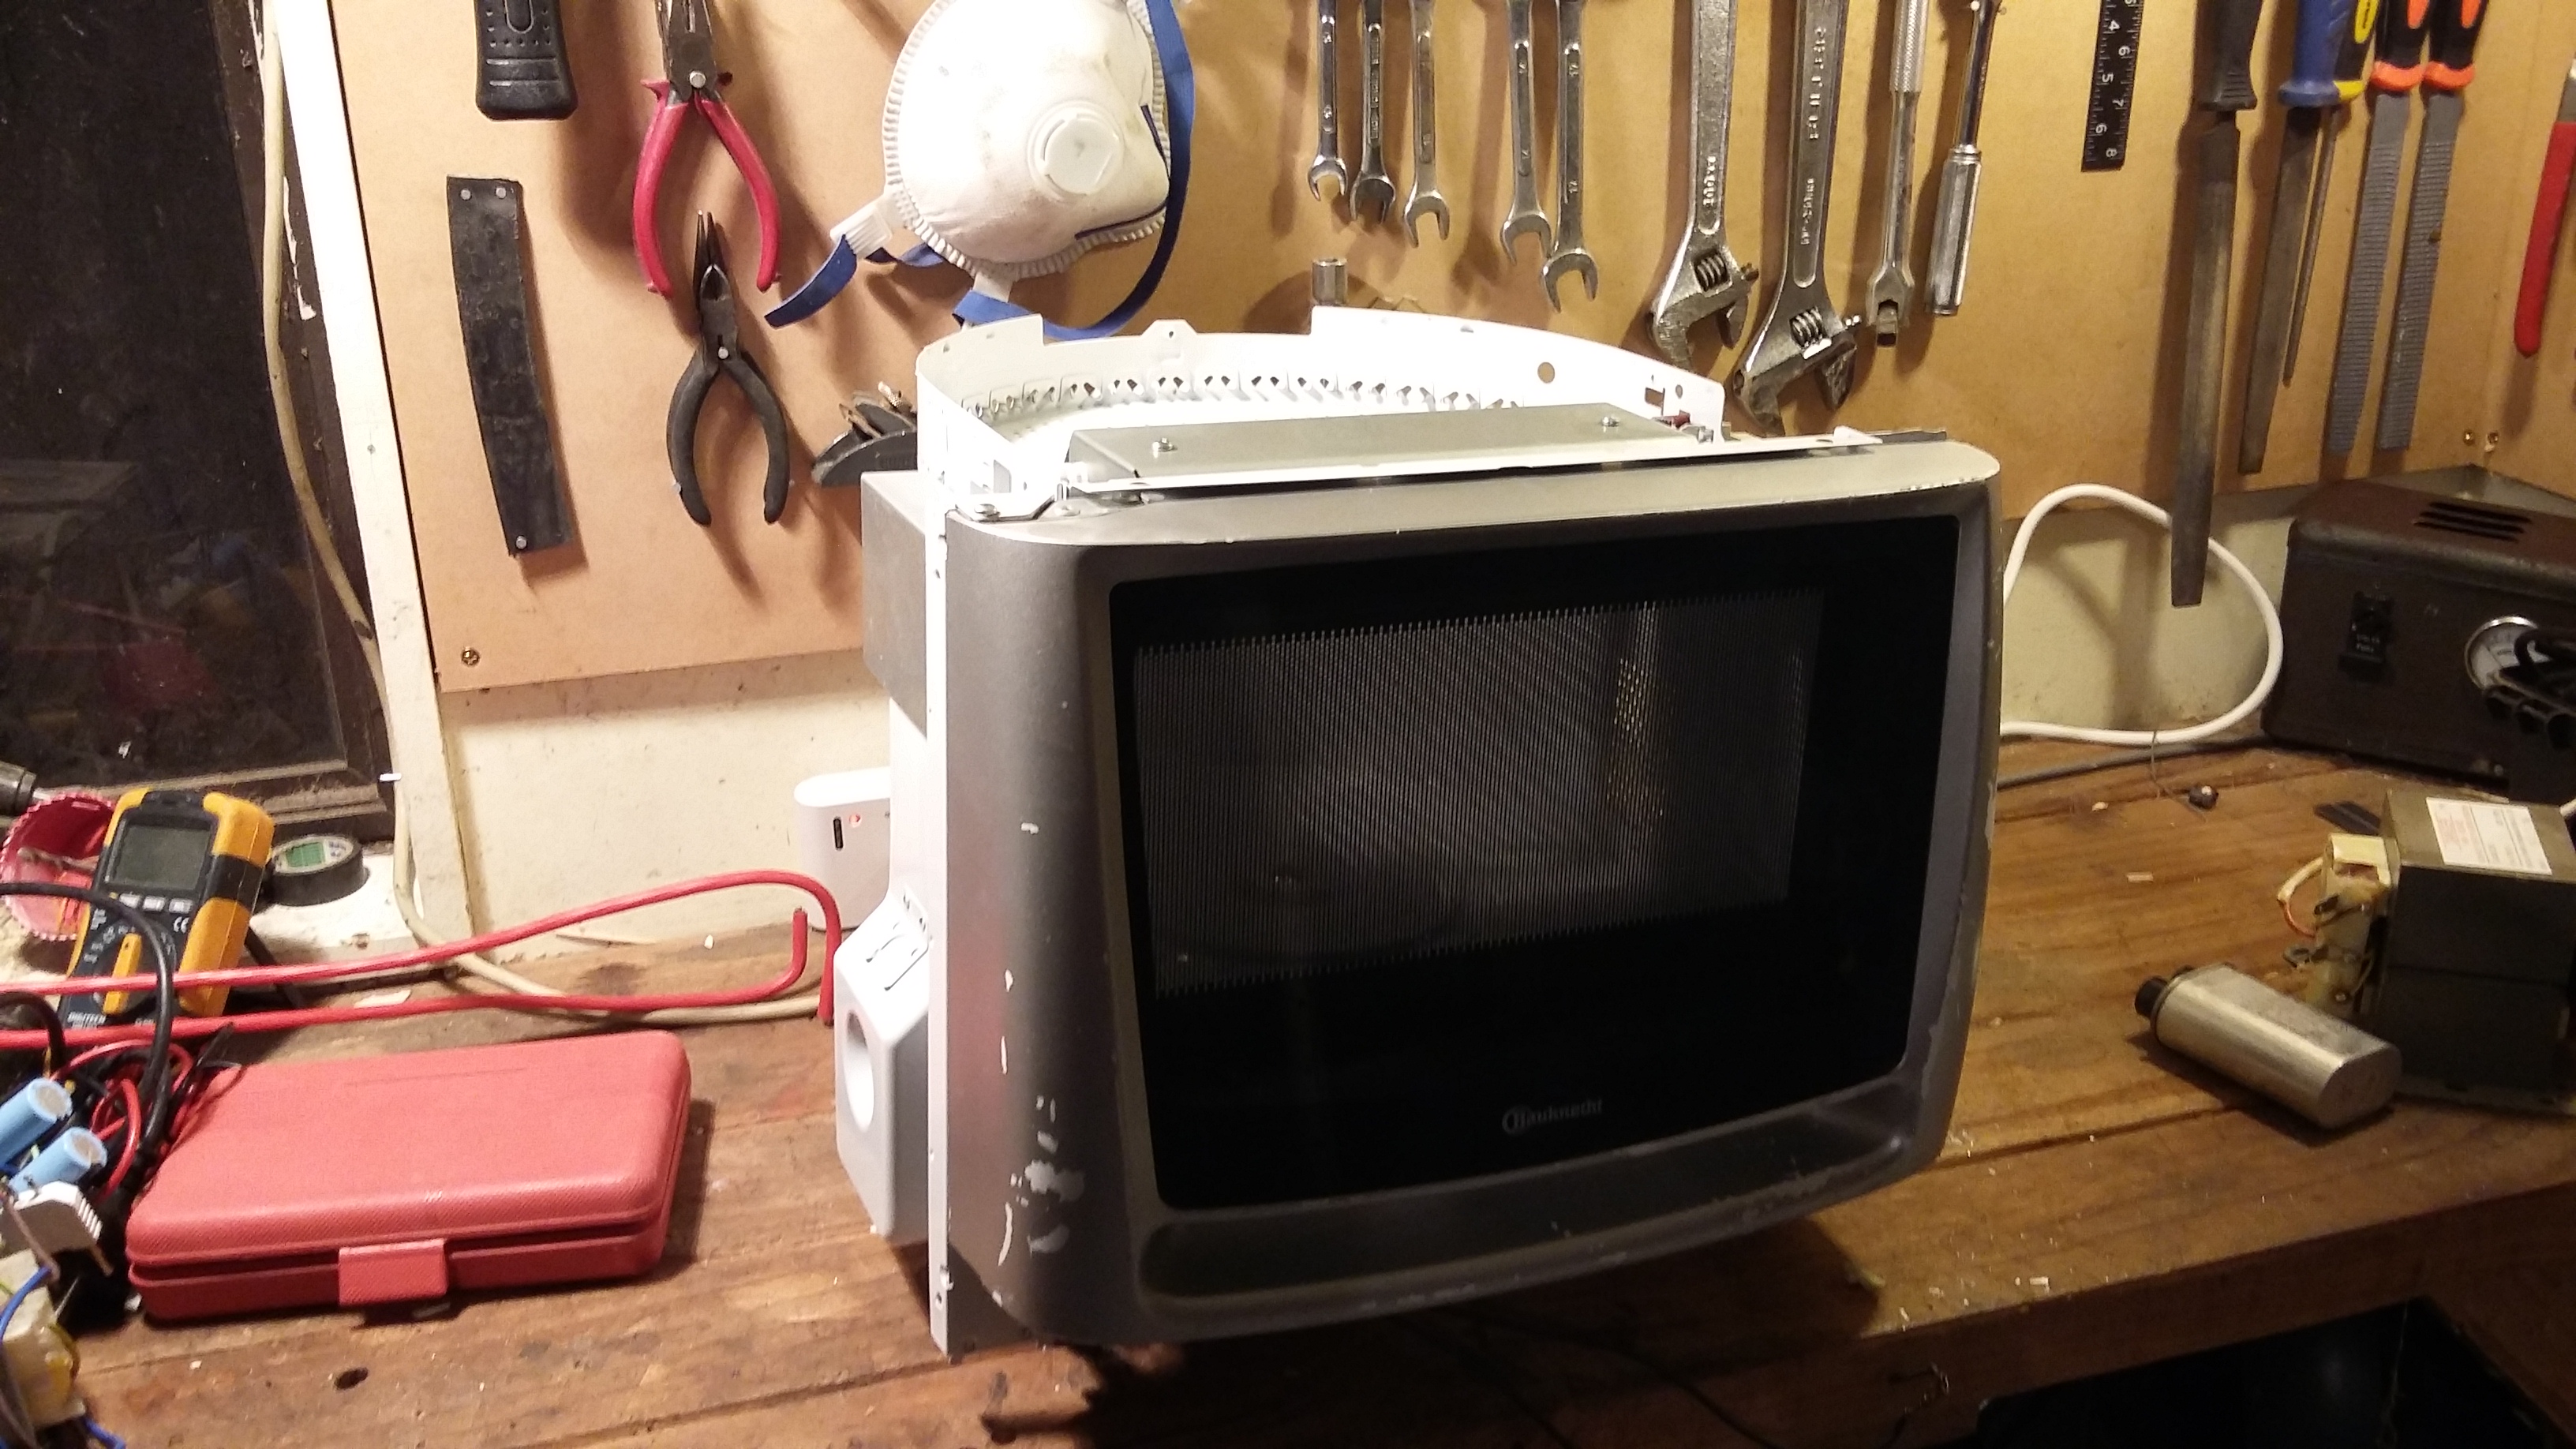
An old battery charger looks like its the perfect size for the transformer and any other components

I don’t think that transformer is good for much anymore.
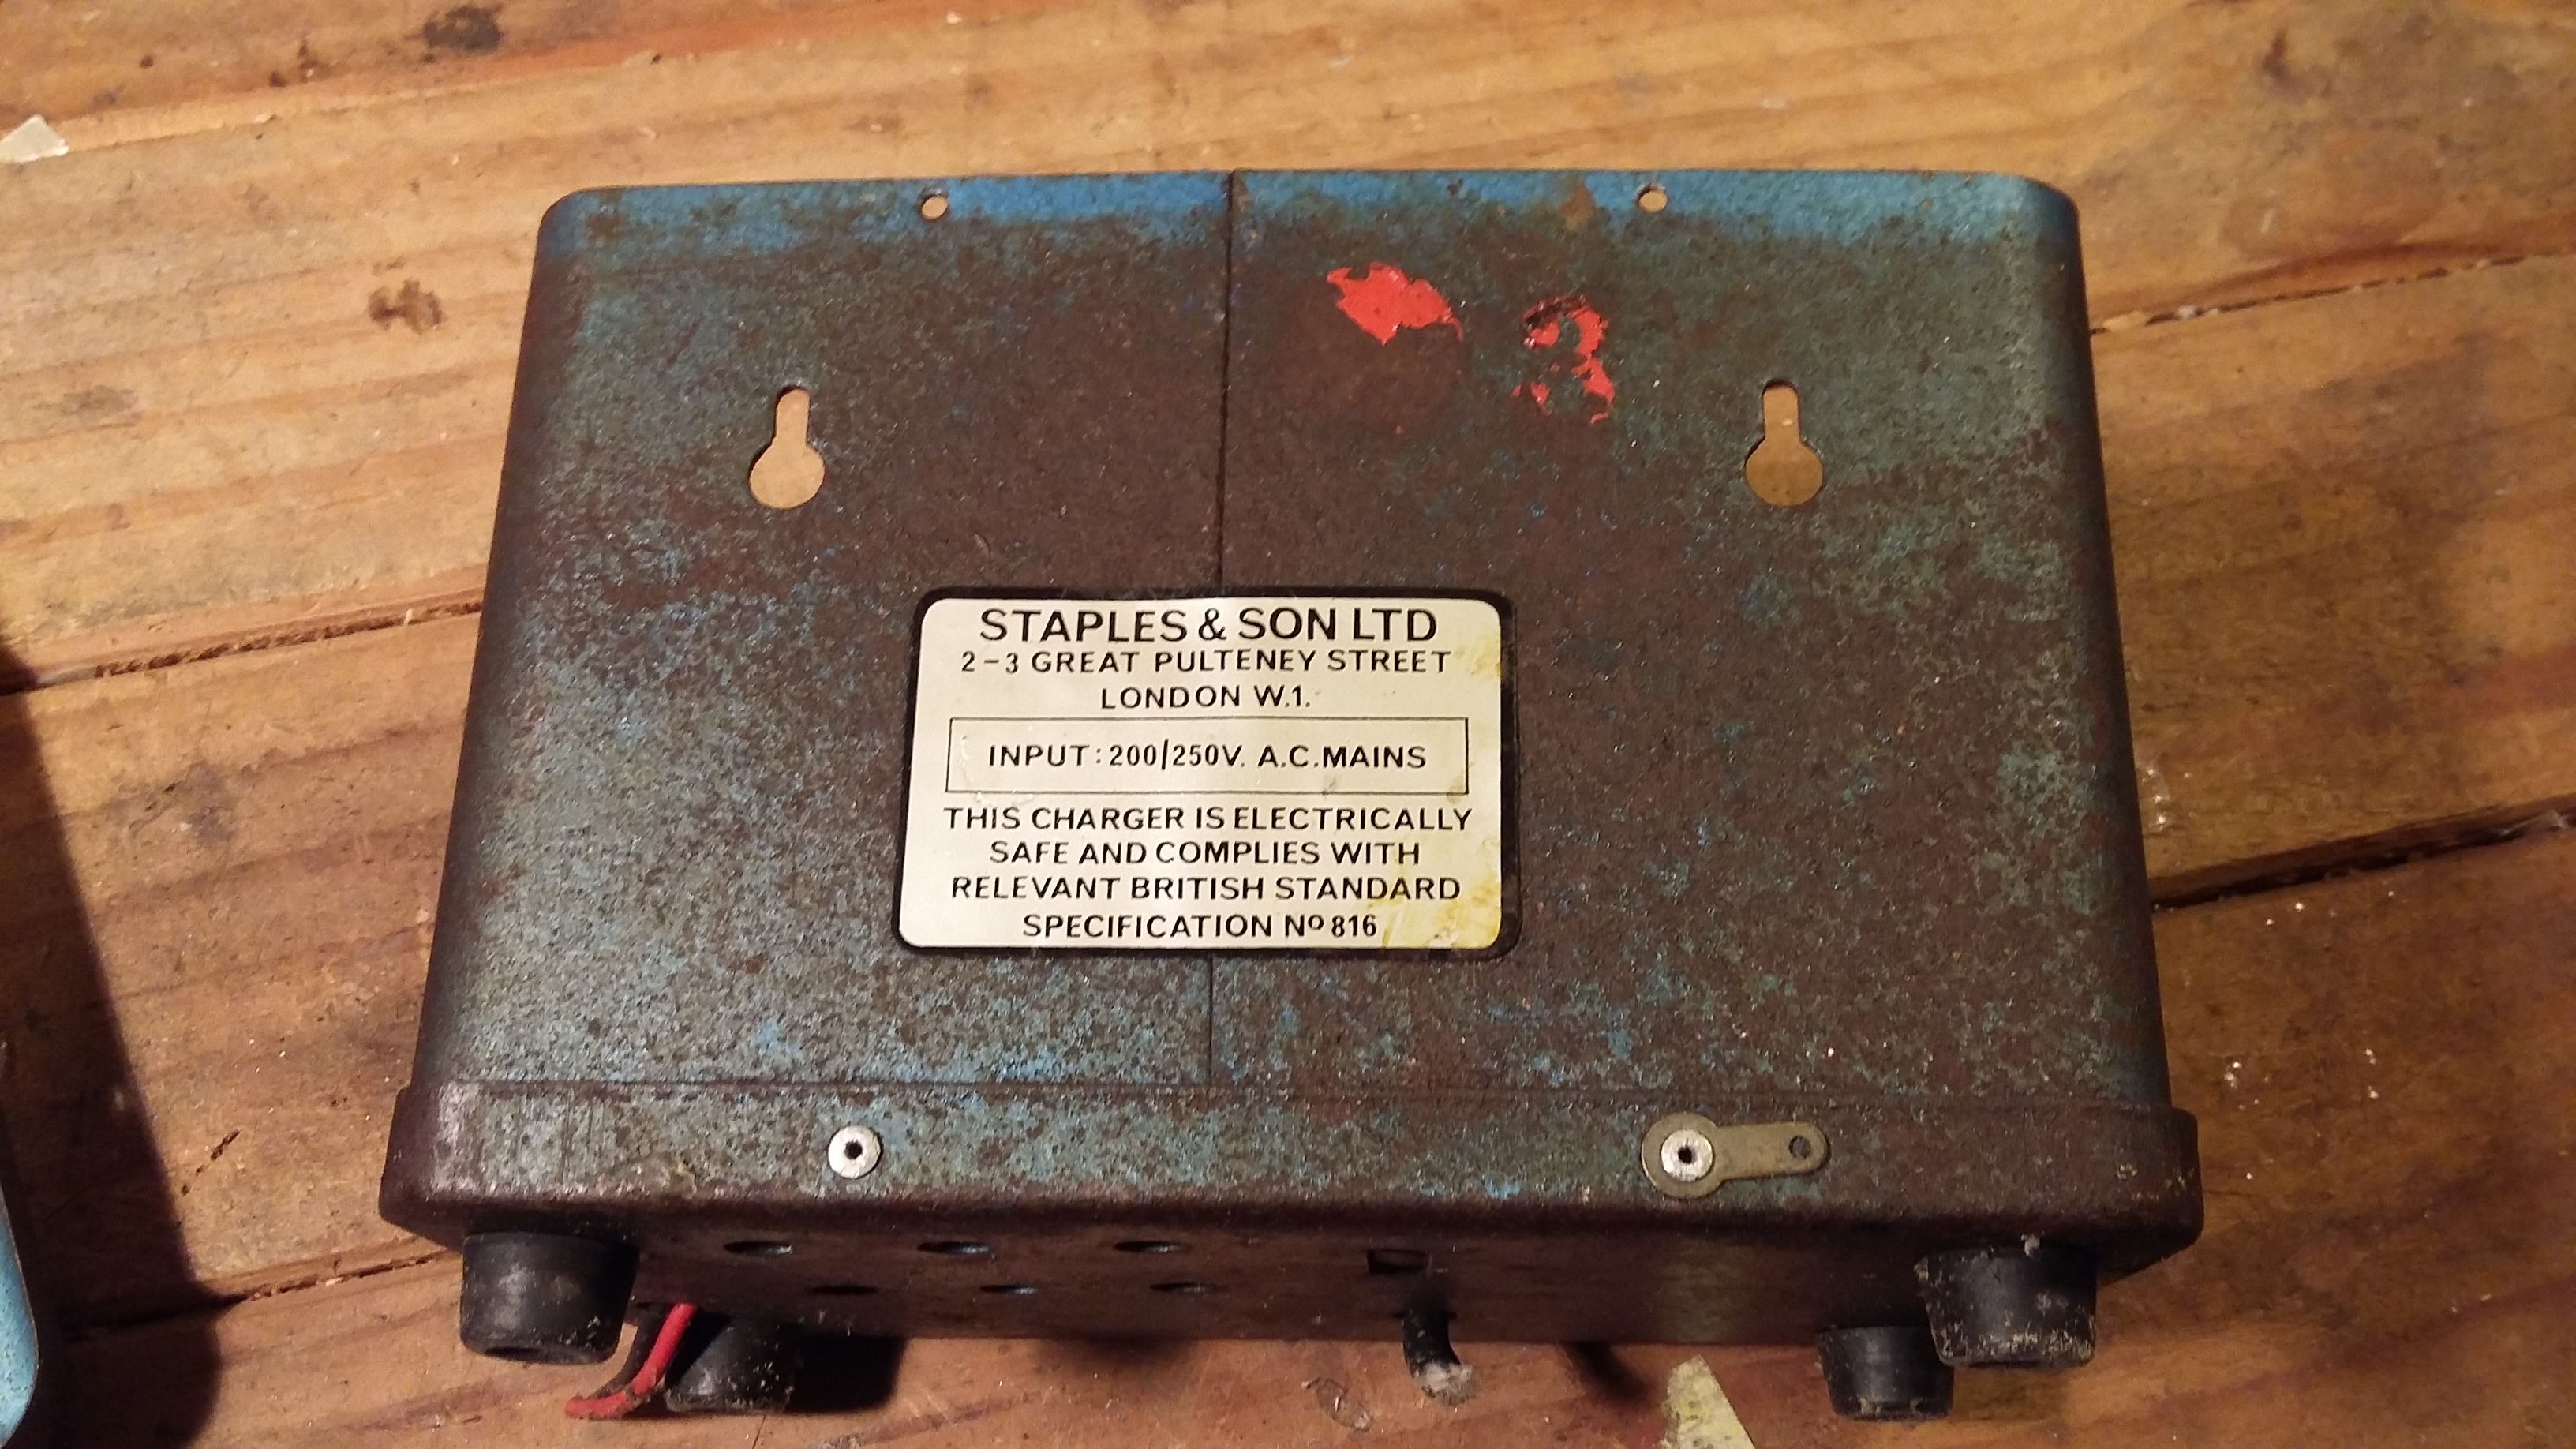
Looks old. I saved this label (even though it might not be true anymore)
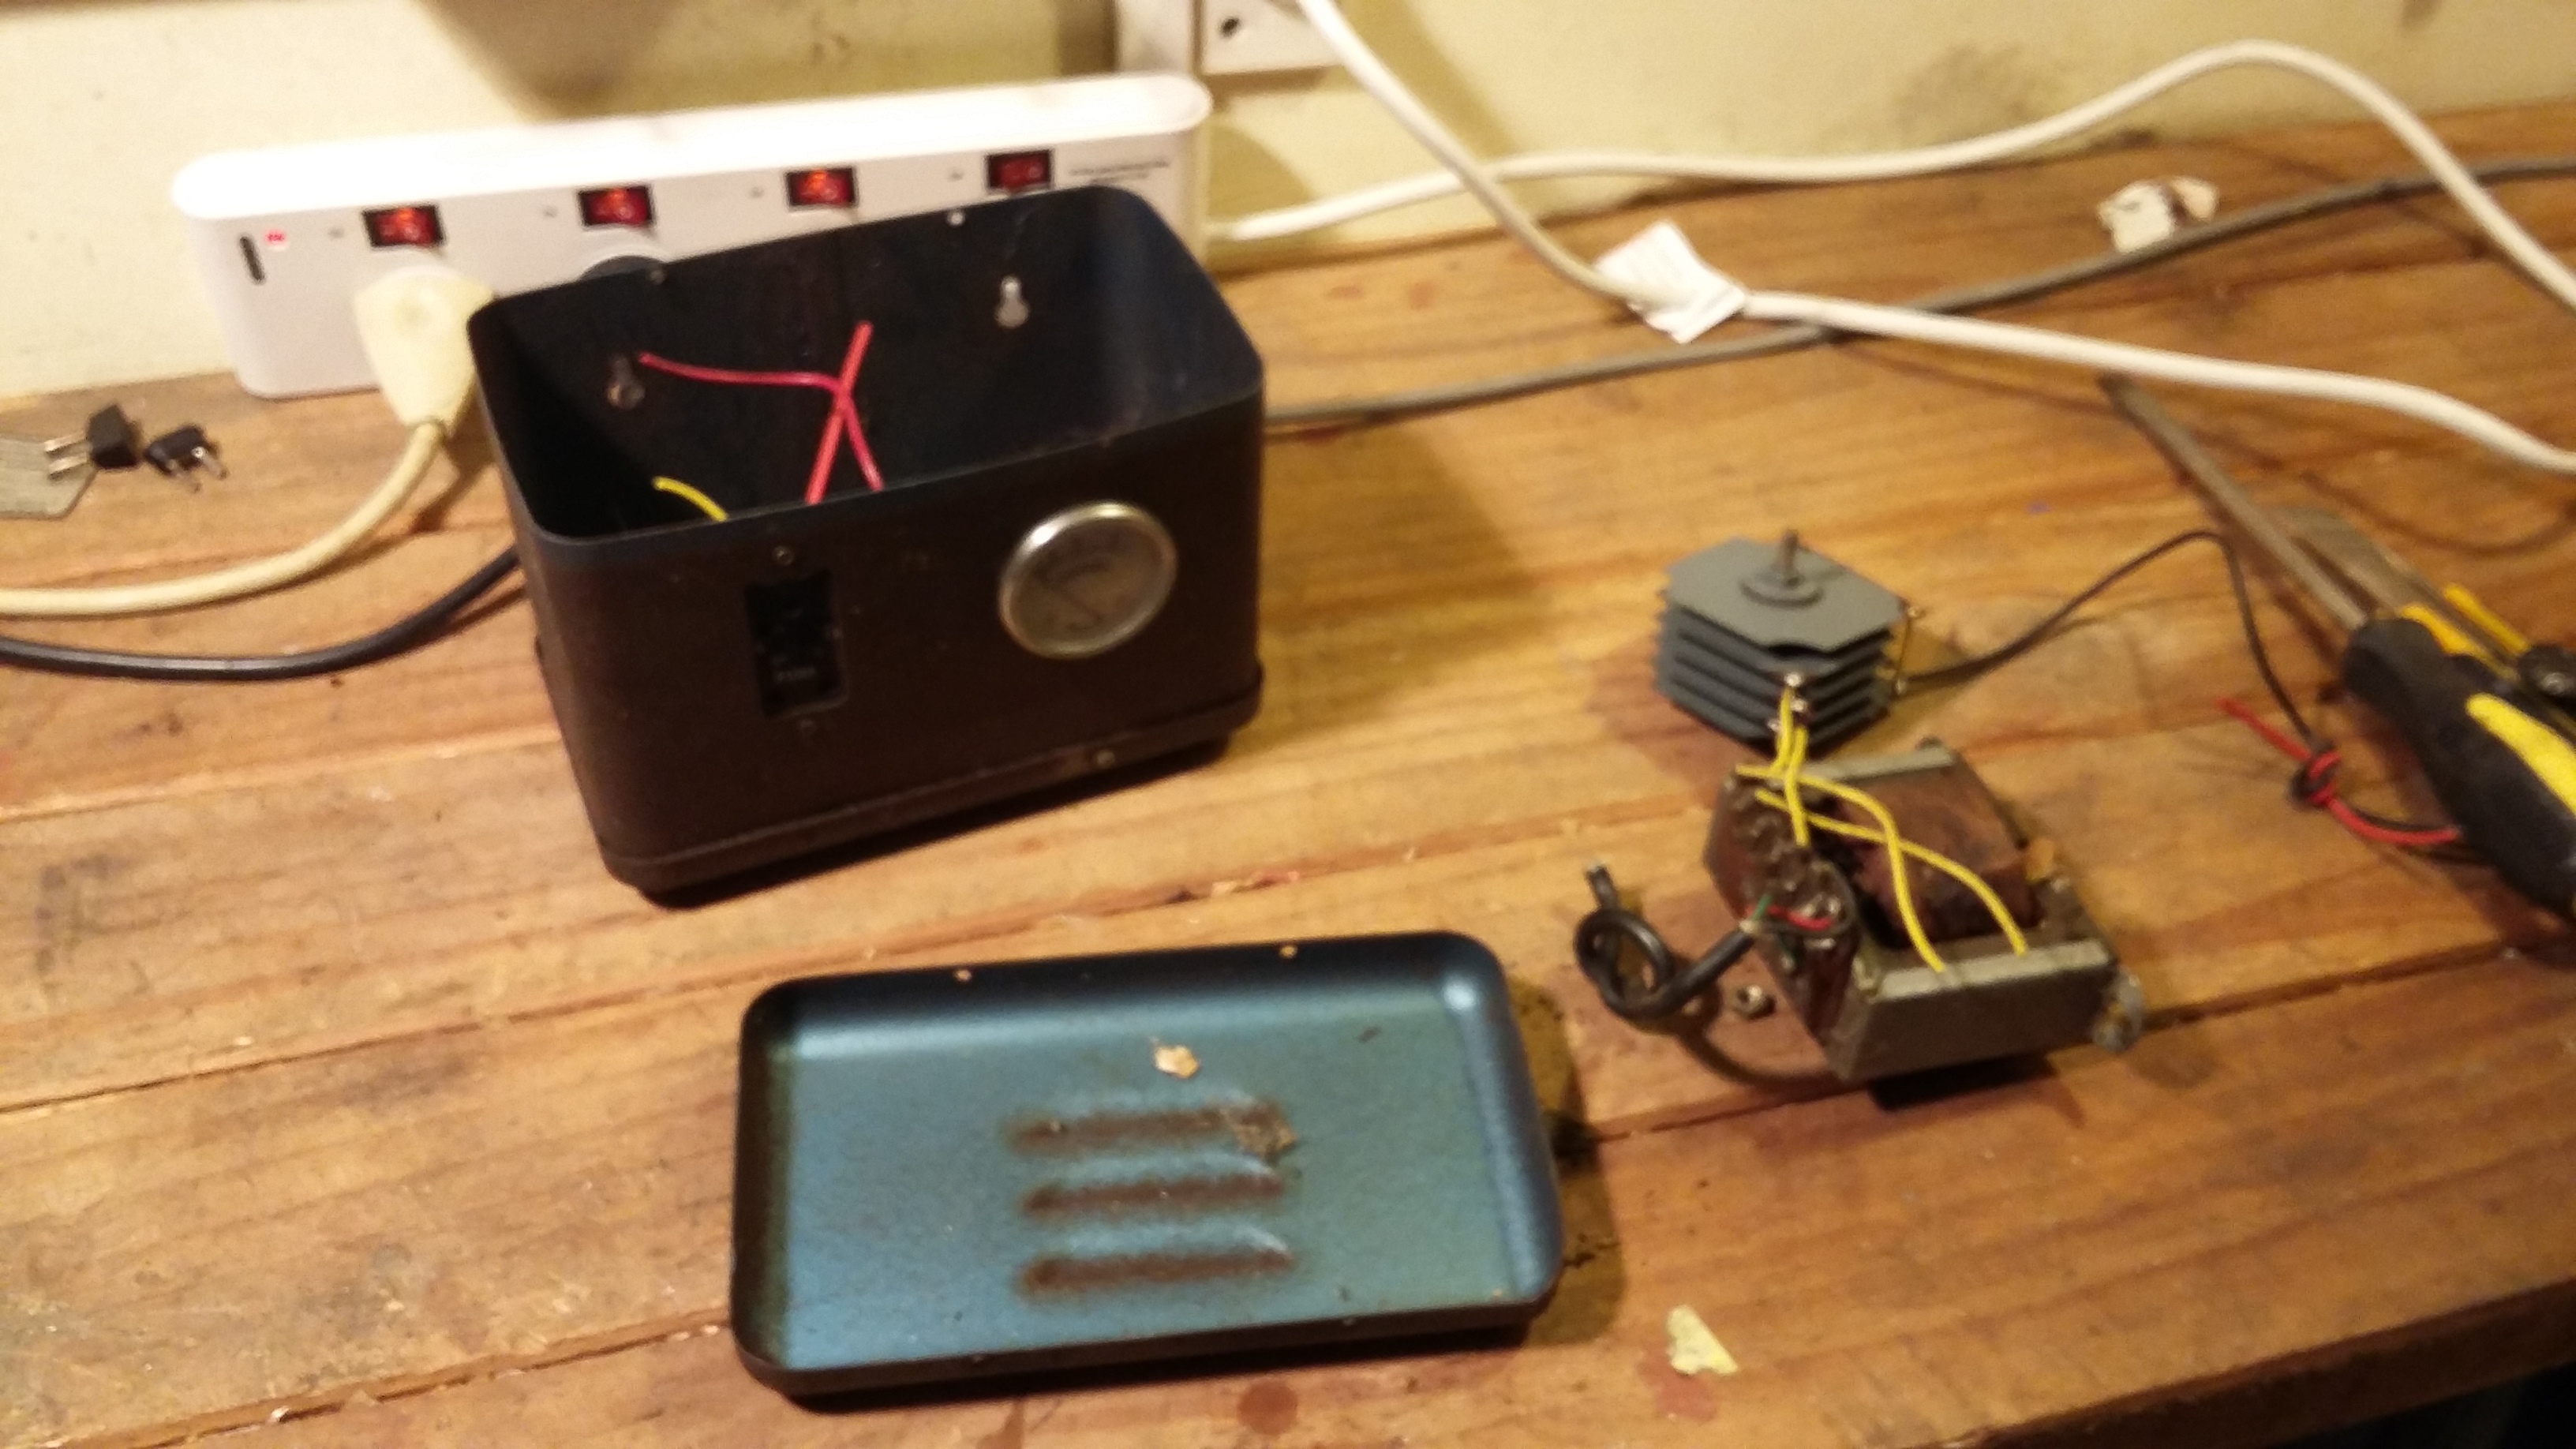
Insides become outsides
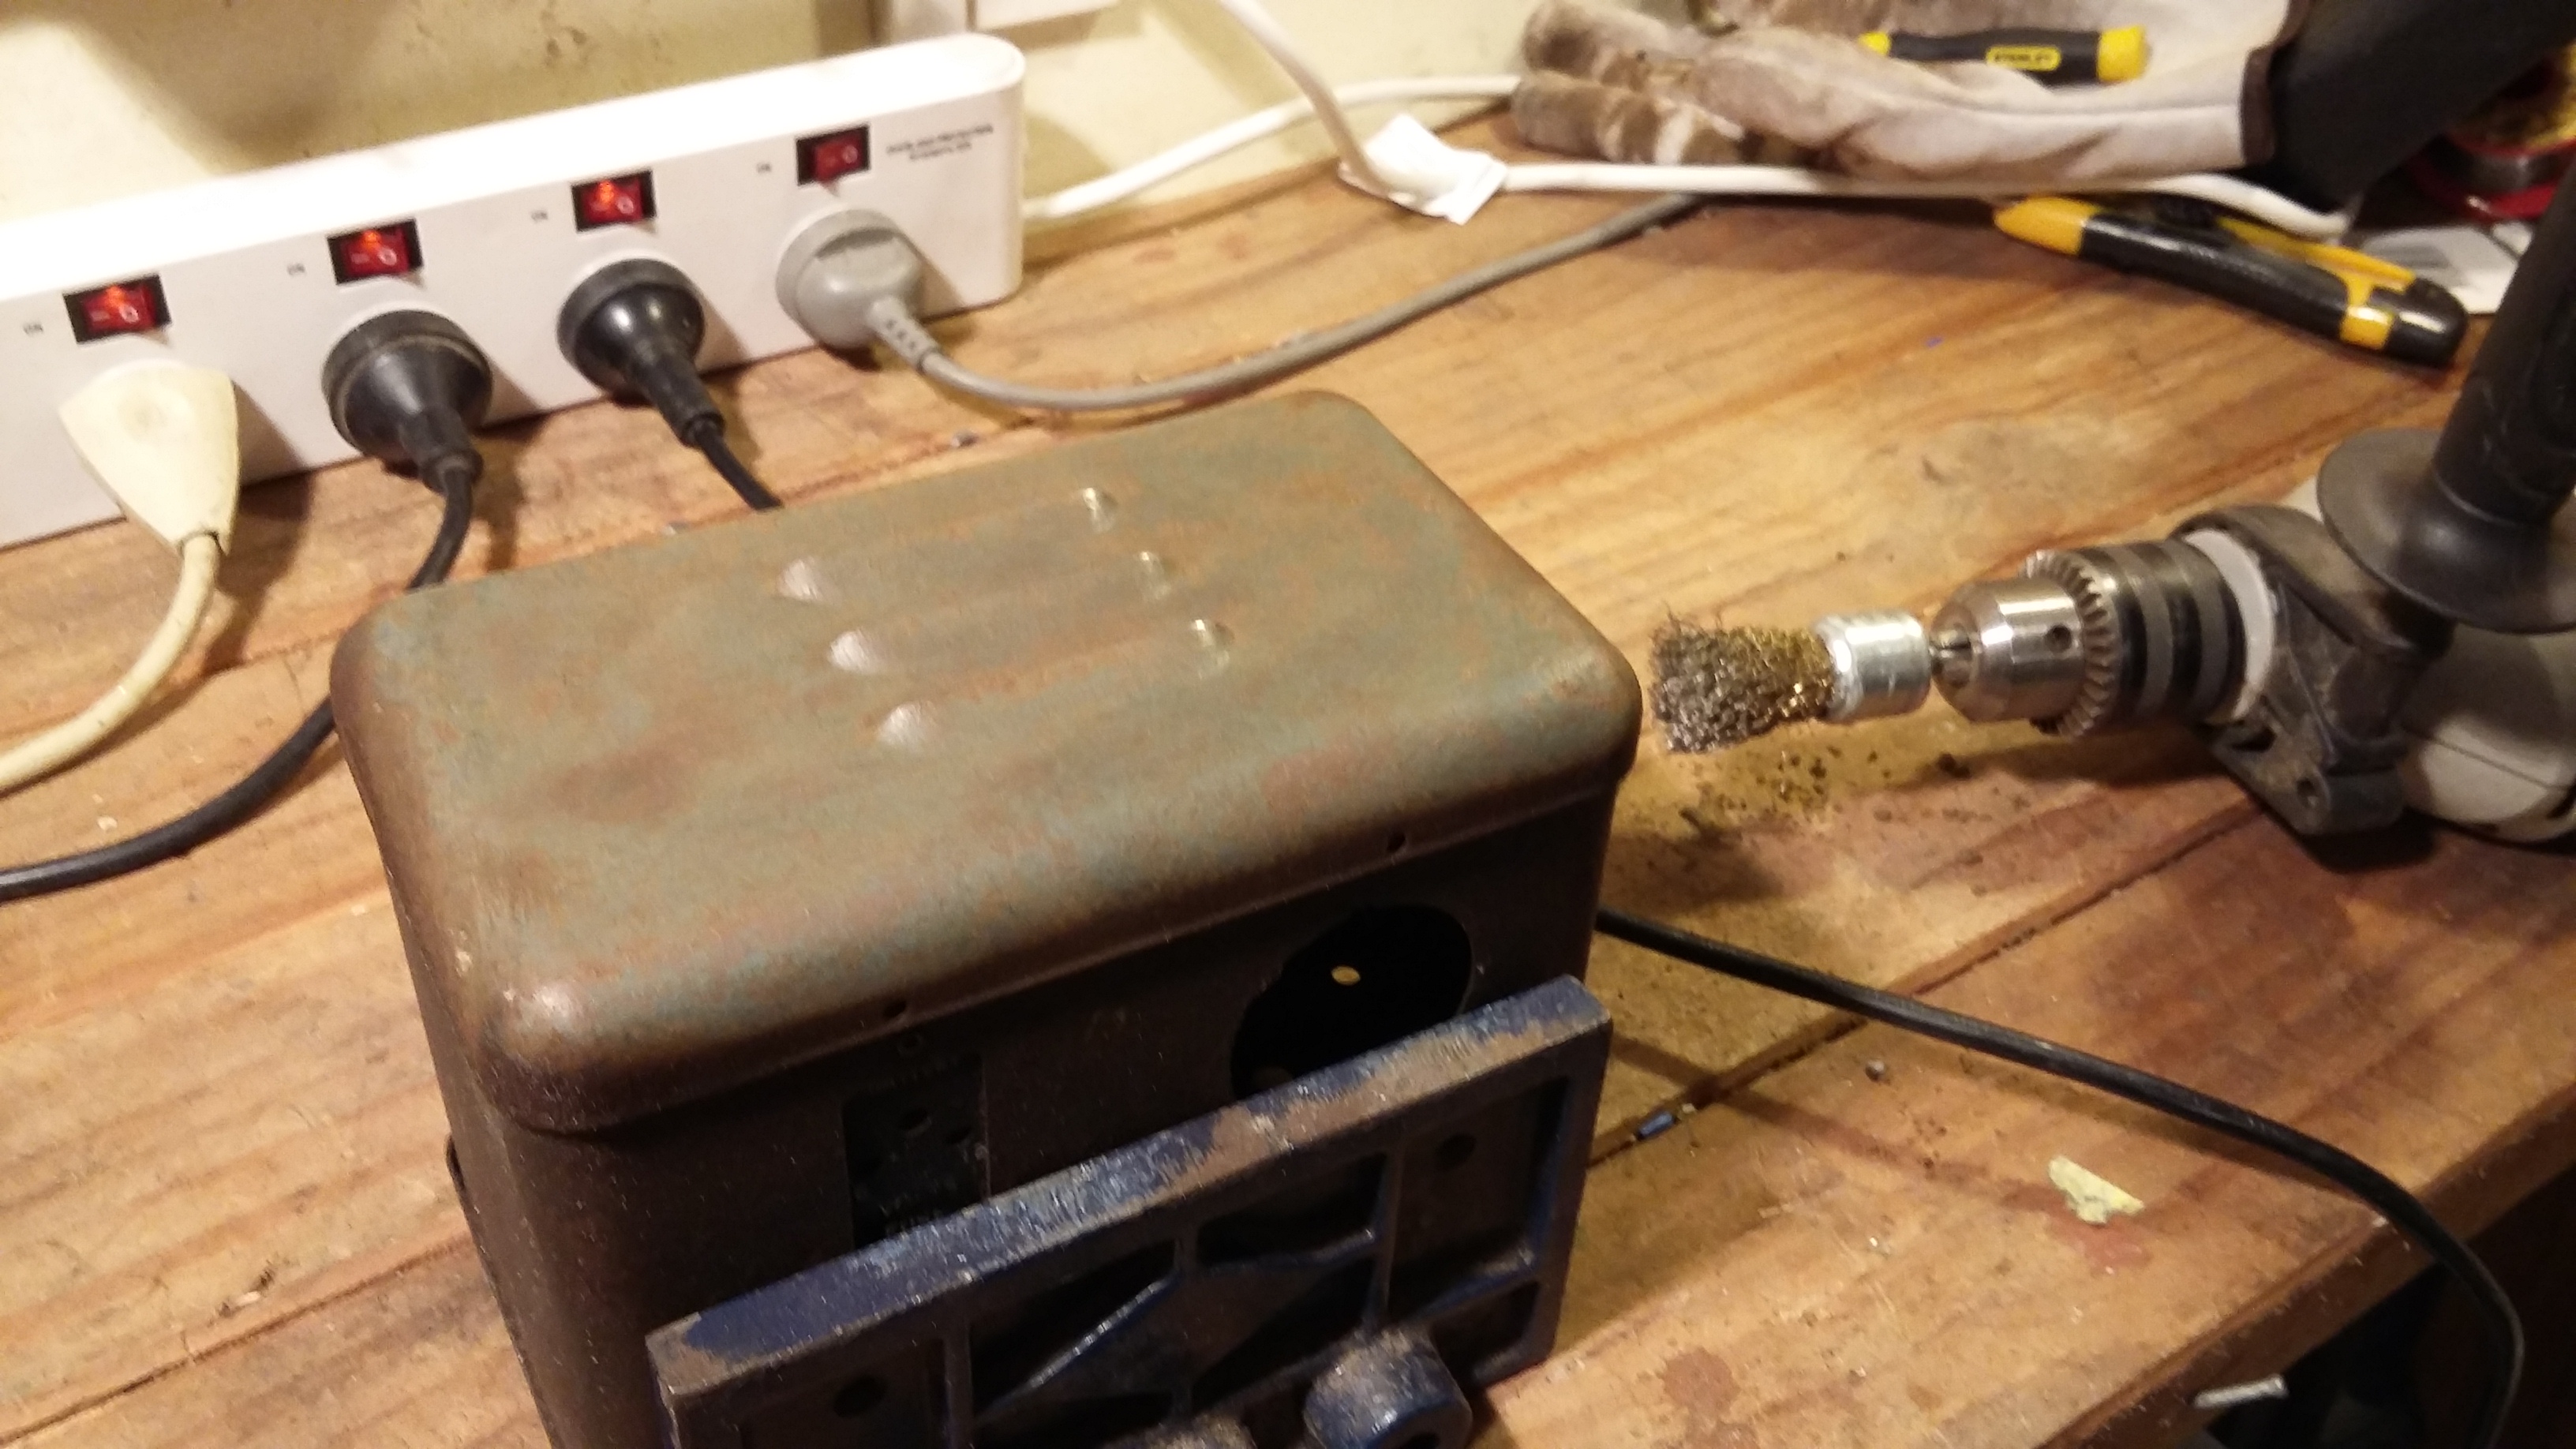
Trying to remove the rust
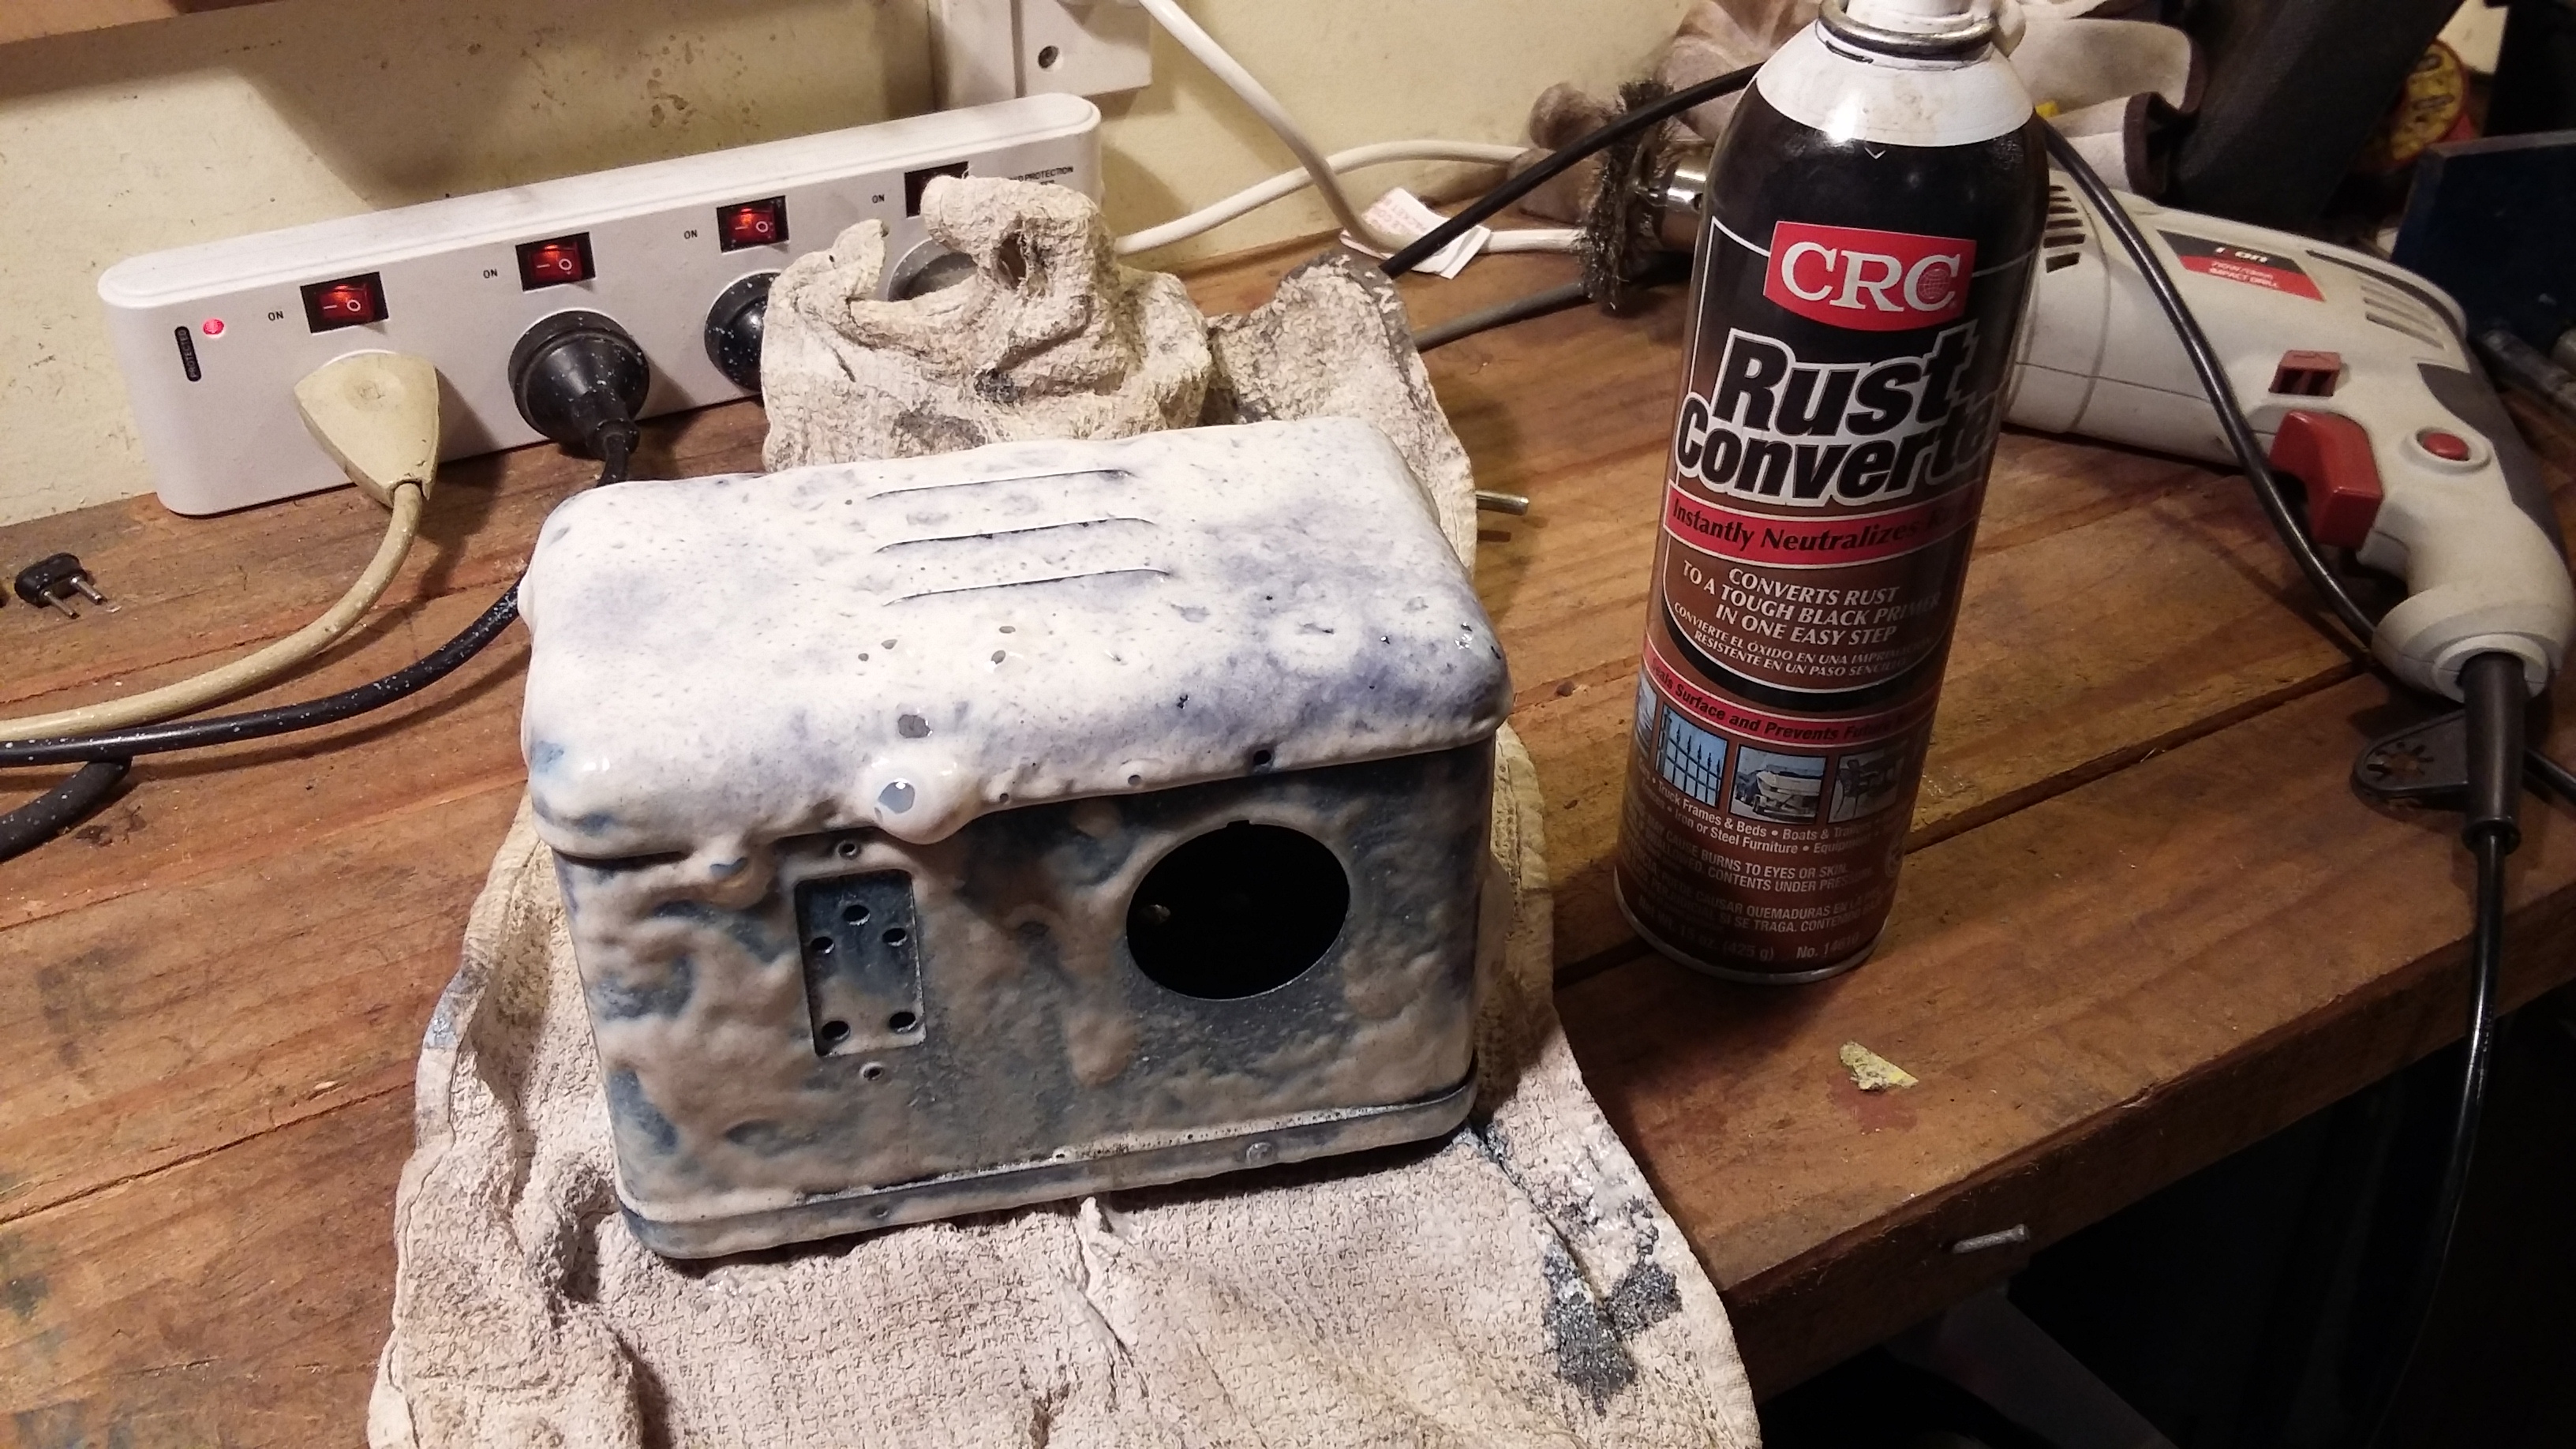
Trying to nullify the rust as it might be easier just to take the surface off then paint over.
Good stuff
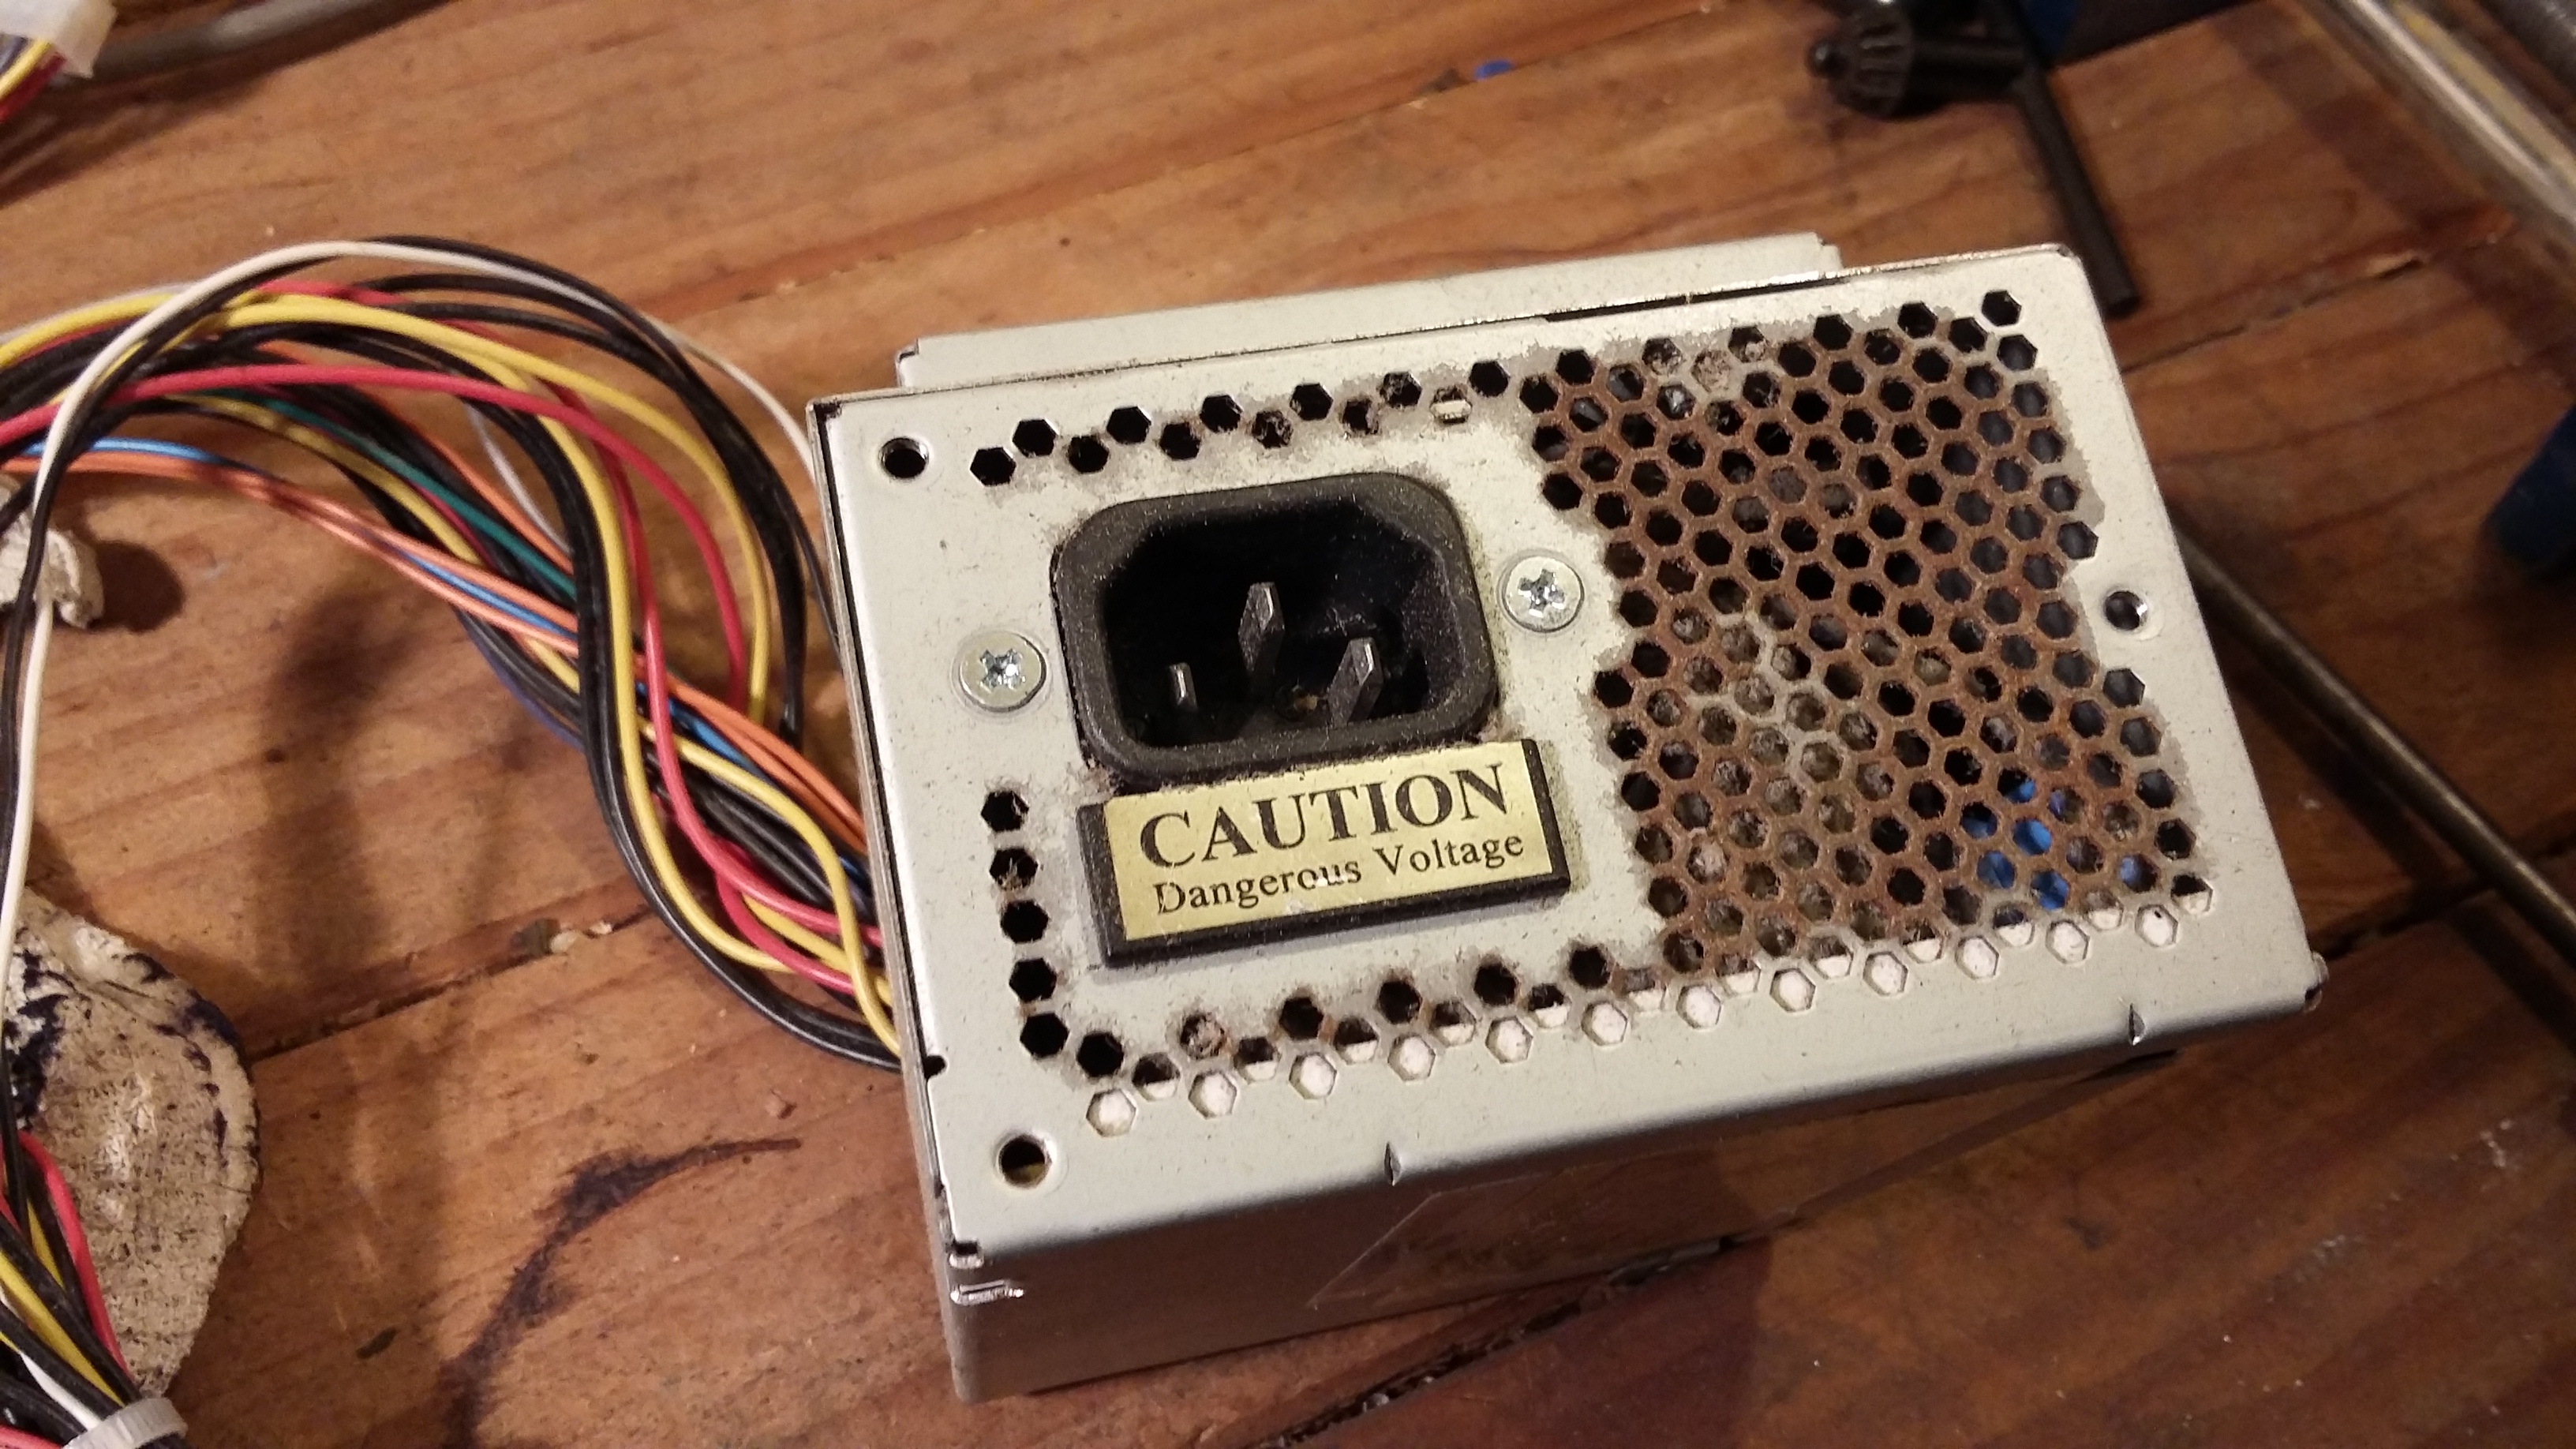
Very old computer PSU has an IEC socket which I can salvage for the power input. Appropriate label below it too

Socket removed, turns out that label was actually the 110v/240v switch covered up. Also found a mains rated switch which might be suitable for the box
Part 3 (Final Assembly) – (you are here)
Making a Spot Welder from an old microwave Part 2
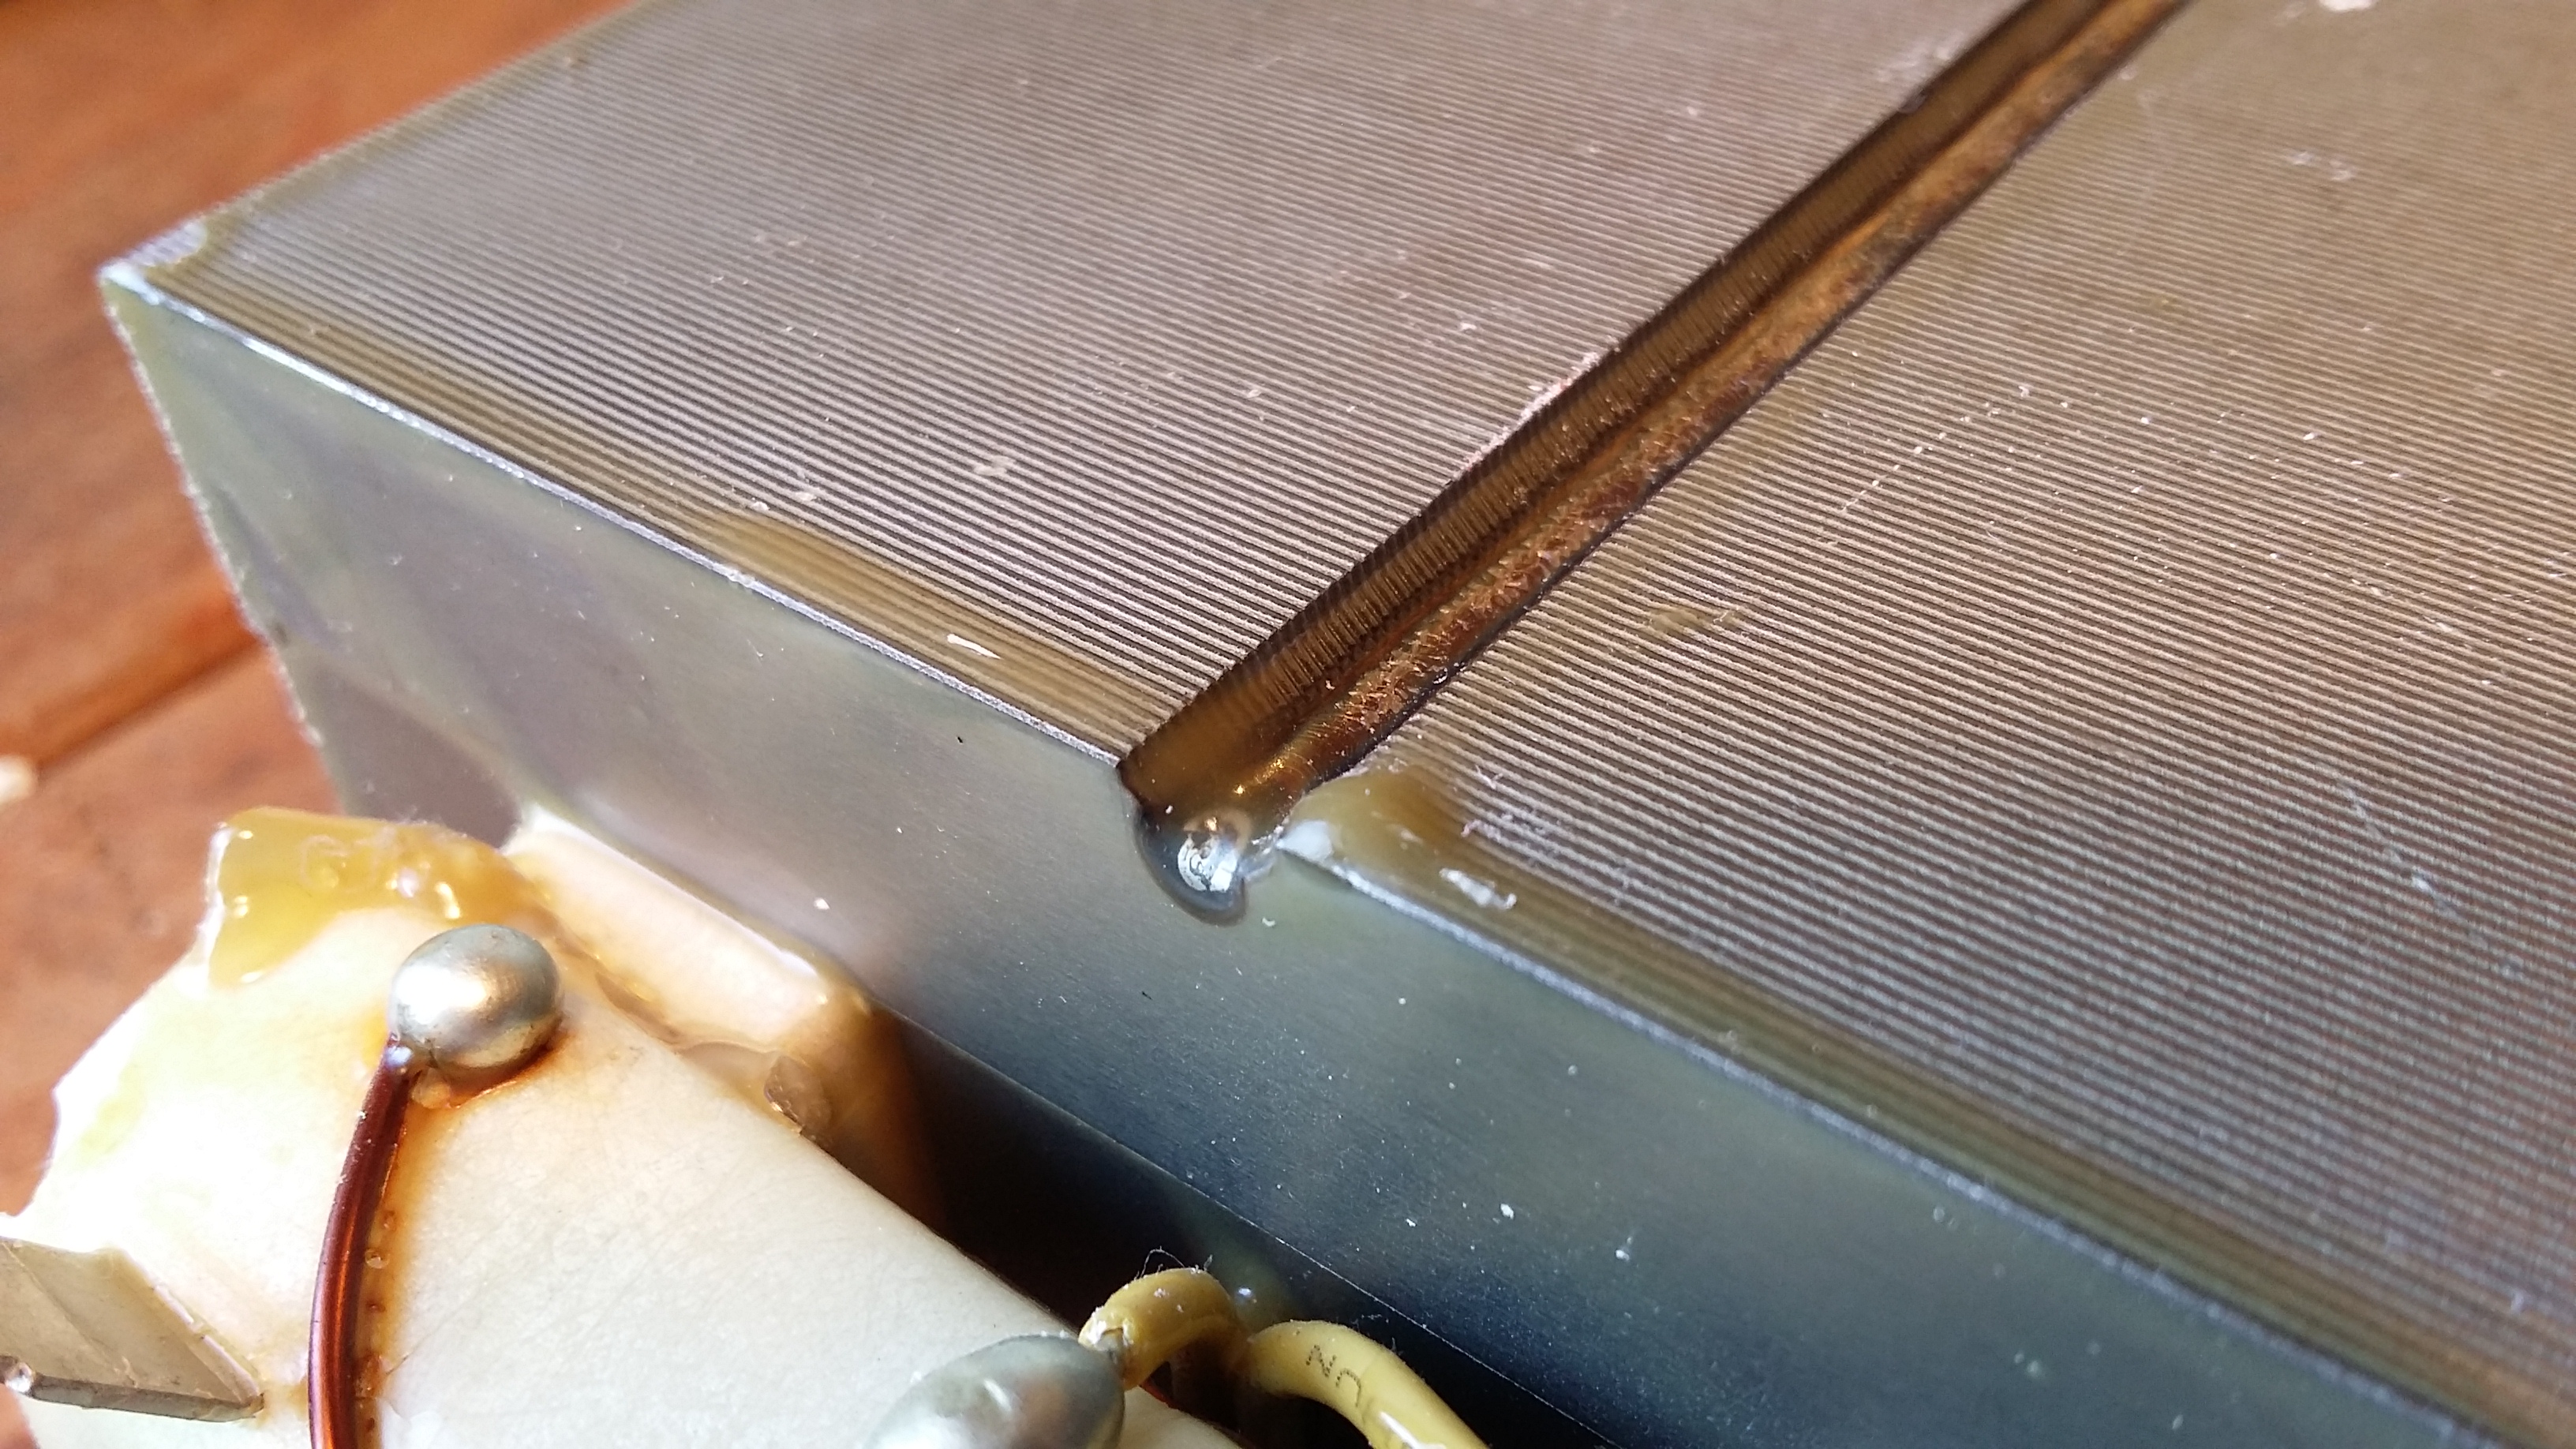
This transformer has a little weld down the side, seemingly to keep all the metal plates together

And some small welds on the bottom. These and the glue were all that was keeping it together

I decided to angle grind them off, a drill would of gone too far into the transformer
And then very very carefully chiseled from the top and sides to separate.
Removed. I managed to split the plates here unfortunately, but its holding up OK, I will re-epoxy them when I am done testing.

Very carefully removing the coils with some wood and a hammer.

Slowly getting the coils out.

After getting the two coils out I replaced the large coil and then wound my own coil with the heavy gauge wire. Then replaced the ‘I’ piece of the transformer. It holds itself on there fine for now but I will epoxy this up before I am finished.

Now I need to make some wire holders and electrodes. while I’m testing I am just going to use some scrap copper pipe
Drilled and tapped a M6 thread into the side of the pipe and bent over the tube halves to make electrodes

A single bolt holds the wire and electrode

Some scrap wood makes the testing a little easier. Also helps me figure out what will work in the final piece.

A spring from an old washing machine helps ensure the electrodes move away from each other
Also had to fix this little overload protection thing. I noticed as I removing the coils there was a small component attached here that I didn’t realize was some sort of overload protector (I assume) or perhaps a thermistor to stop it overheating. For now I just twisted and taped these wires together, seems like a good idea to put it back in for the final product though.
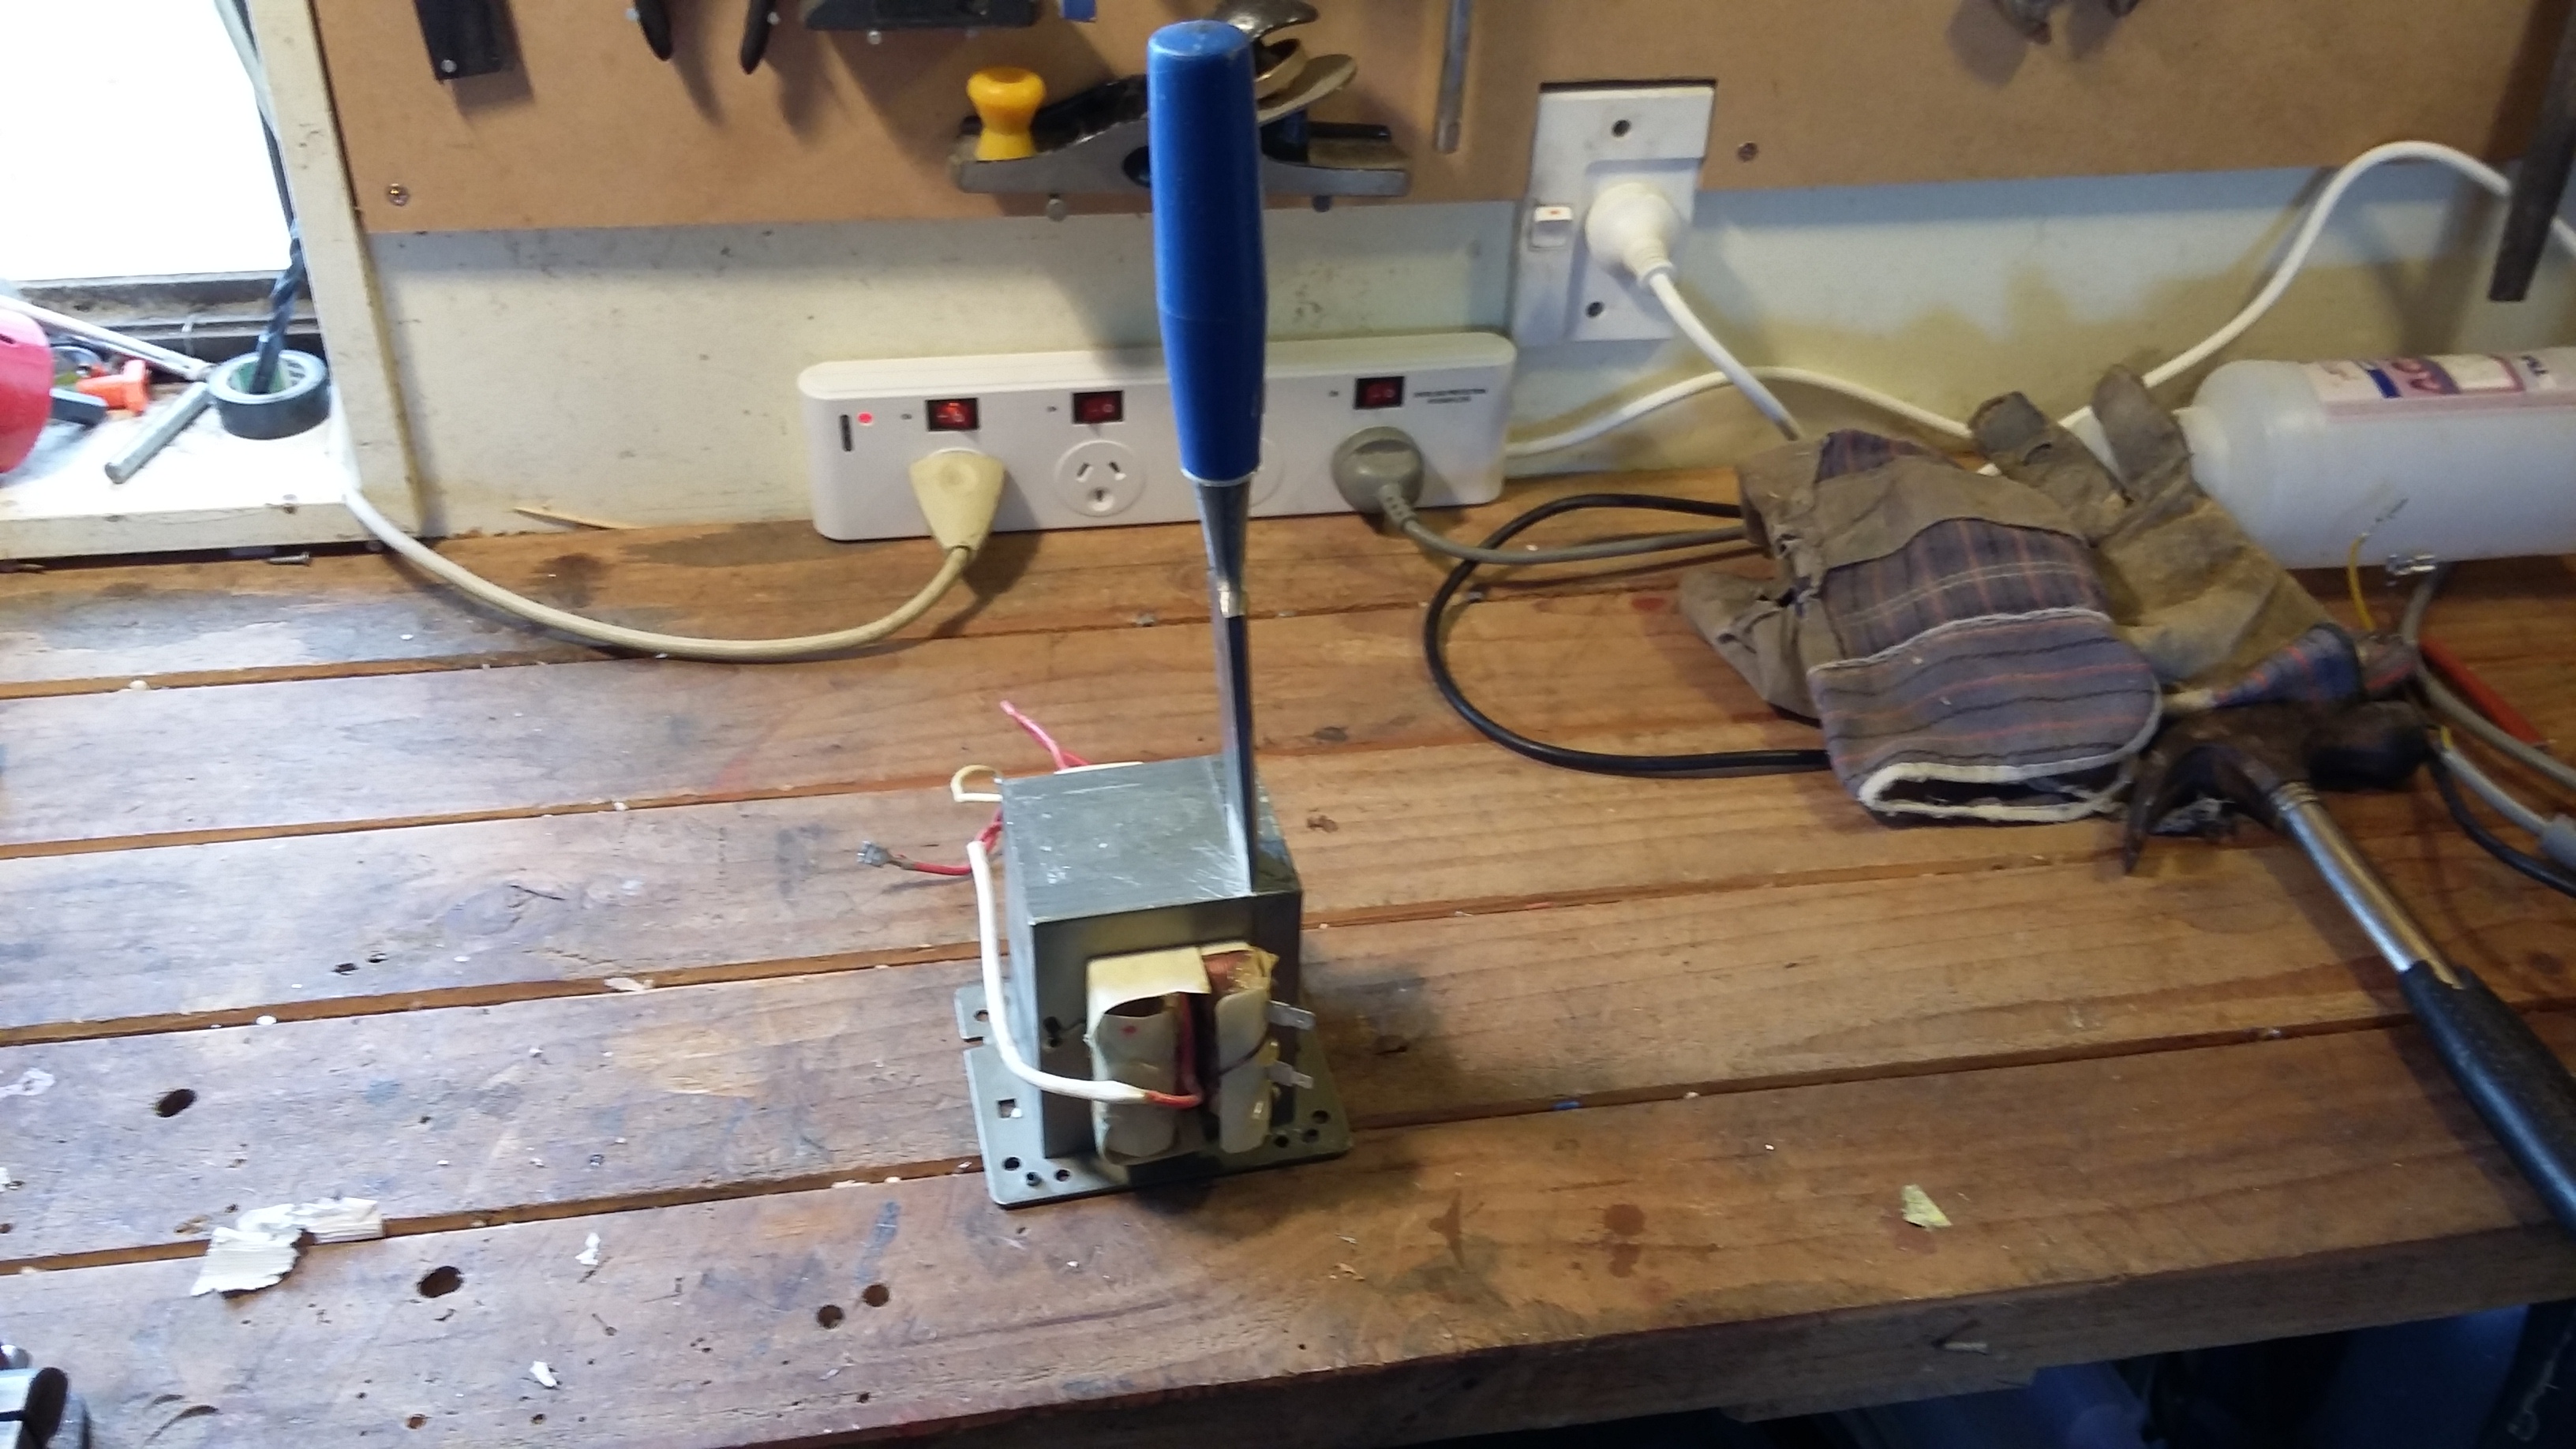
Ready to test….
HD, best viewed bigger than this page shows 🙂
Making a Spot Welder from an old microwave
Inspired by http://mad-science.wonderhowto.com/how-to/turn-microwave-oven-transformer-into-high-amperage-metal-melter-0140772/
Disclaimer, you really should not do this. Don’t try this unless you are really sure you know what your doing. Mains is dangerous, and microwaves even more so.
Work in Progress

Picked up a broken microwave from freecycle
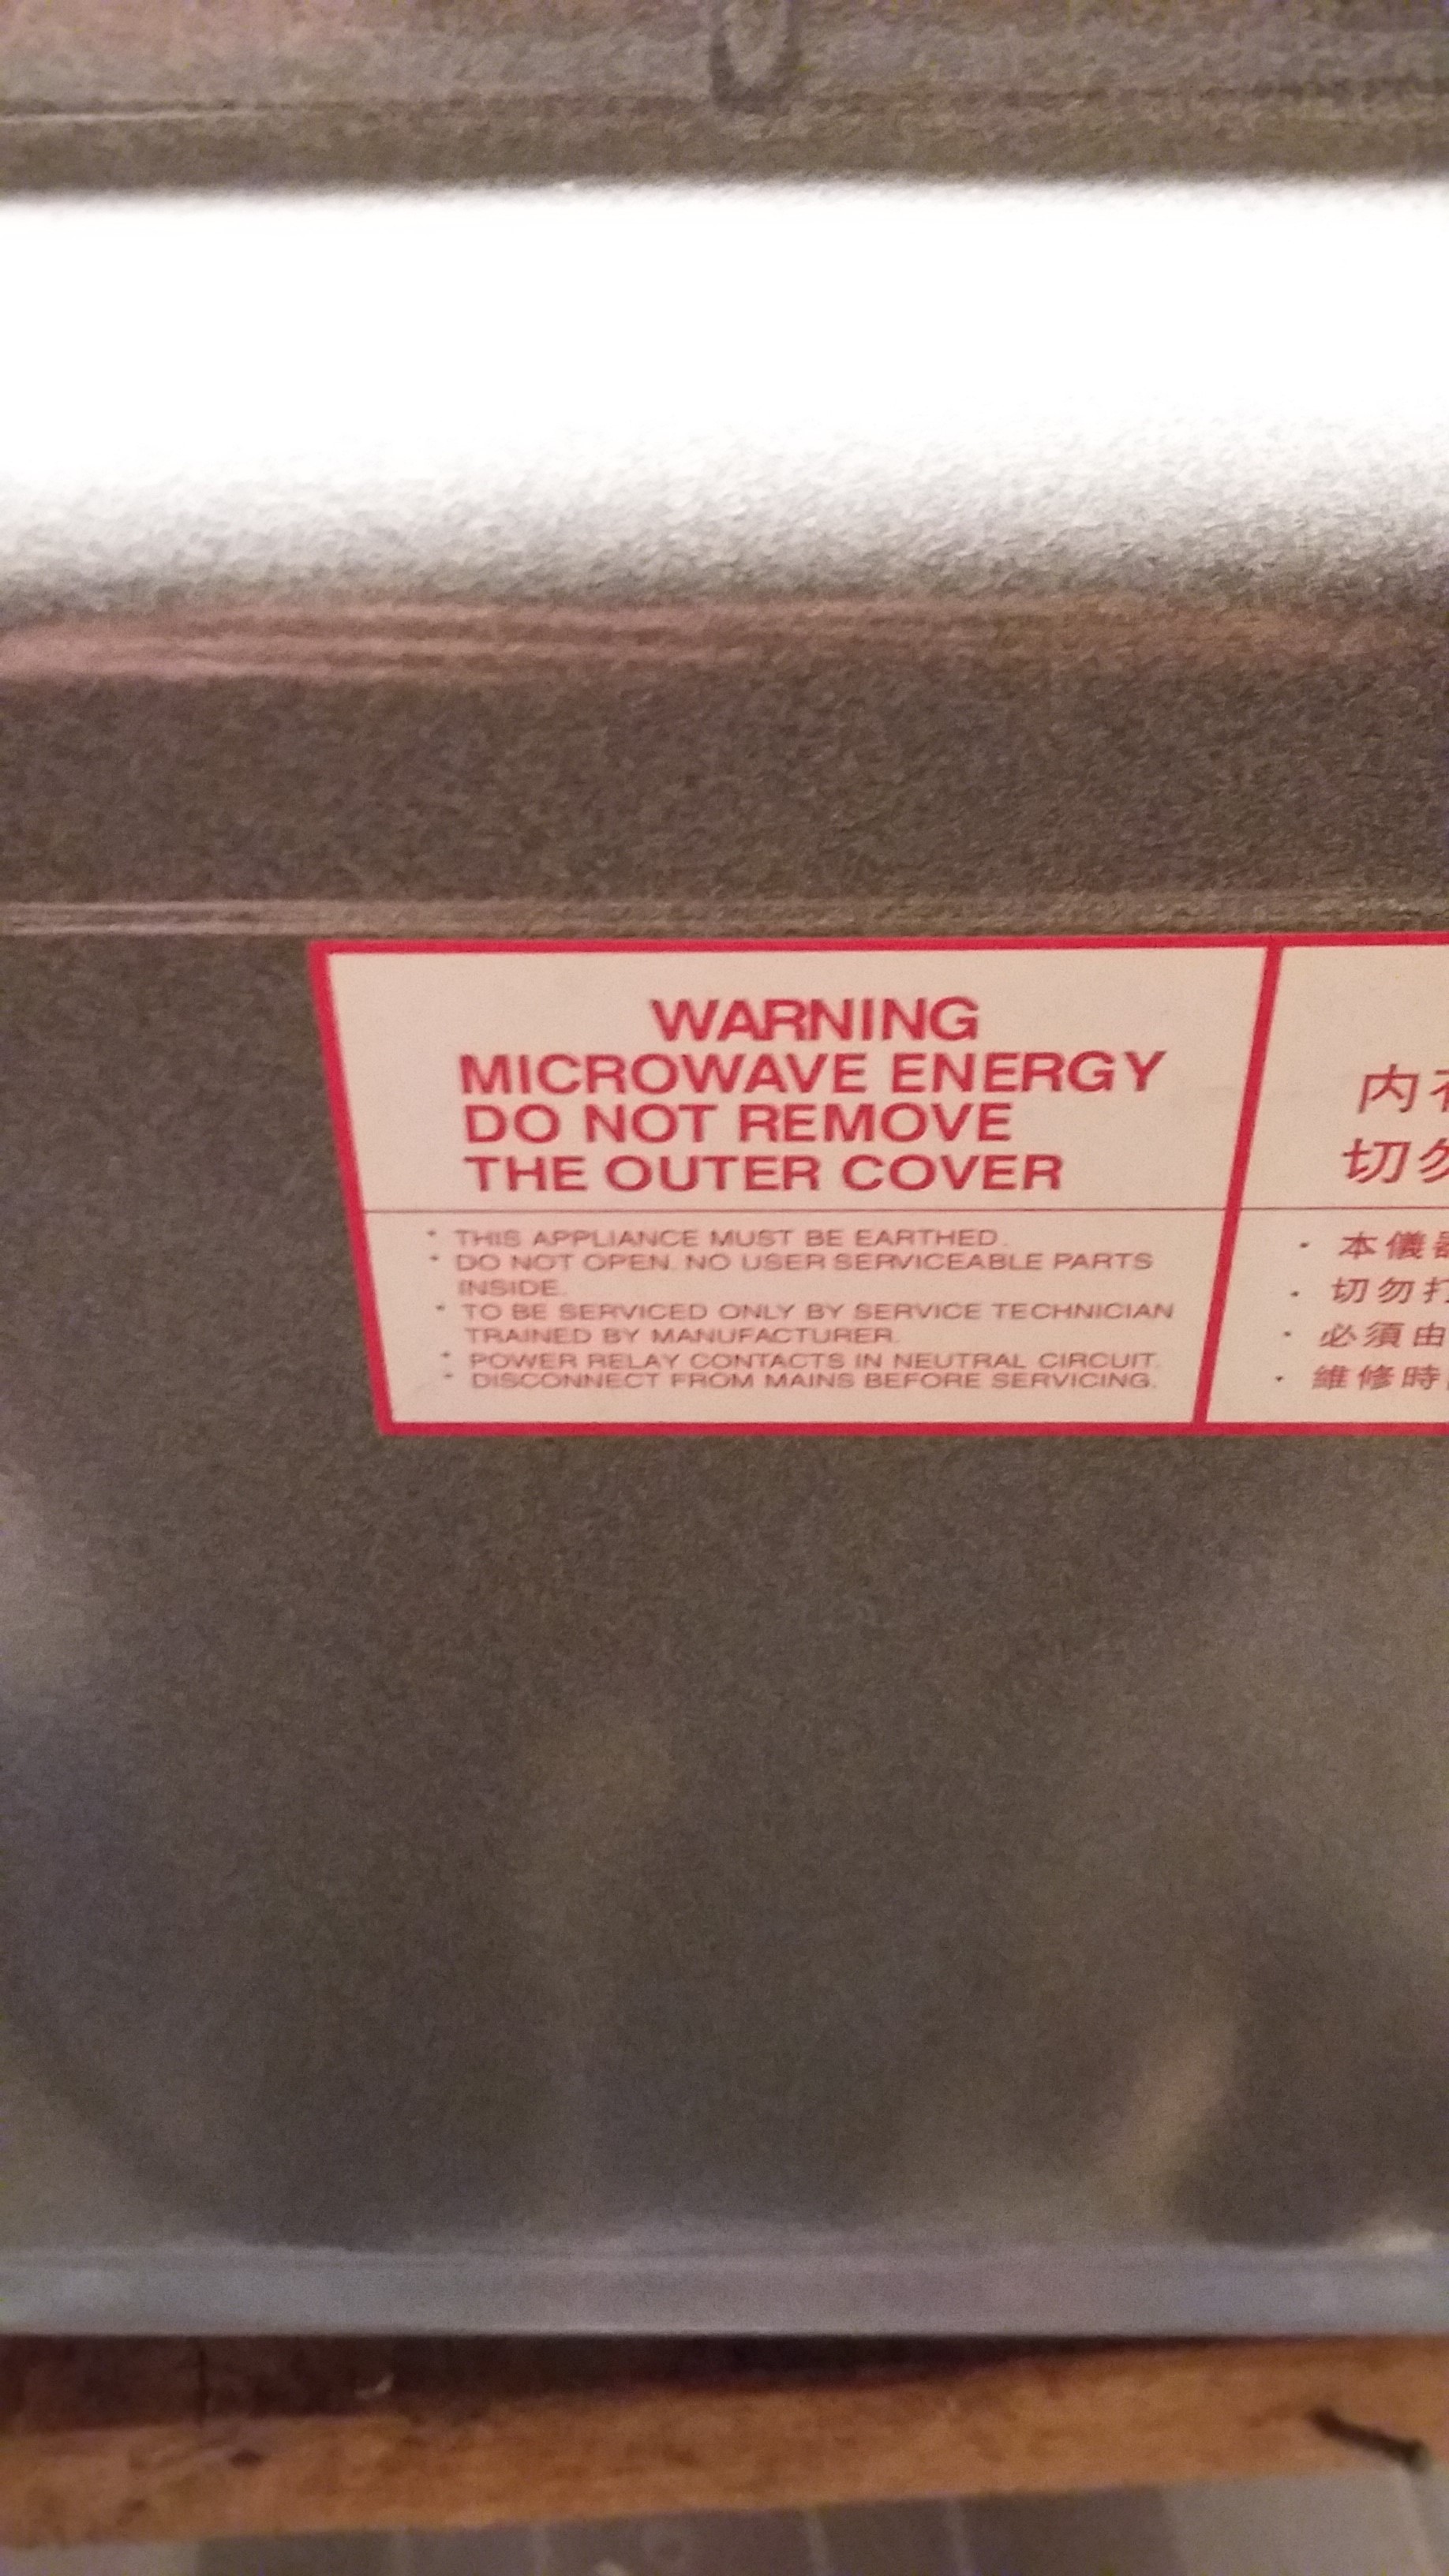
Ok, Sticker.

Getting the top off. There is a pretty bad smell coming from this microwave
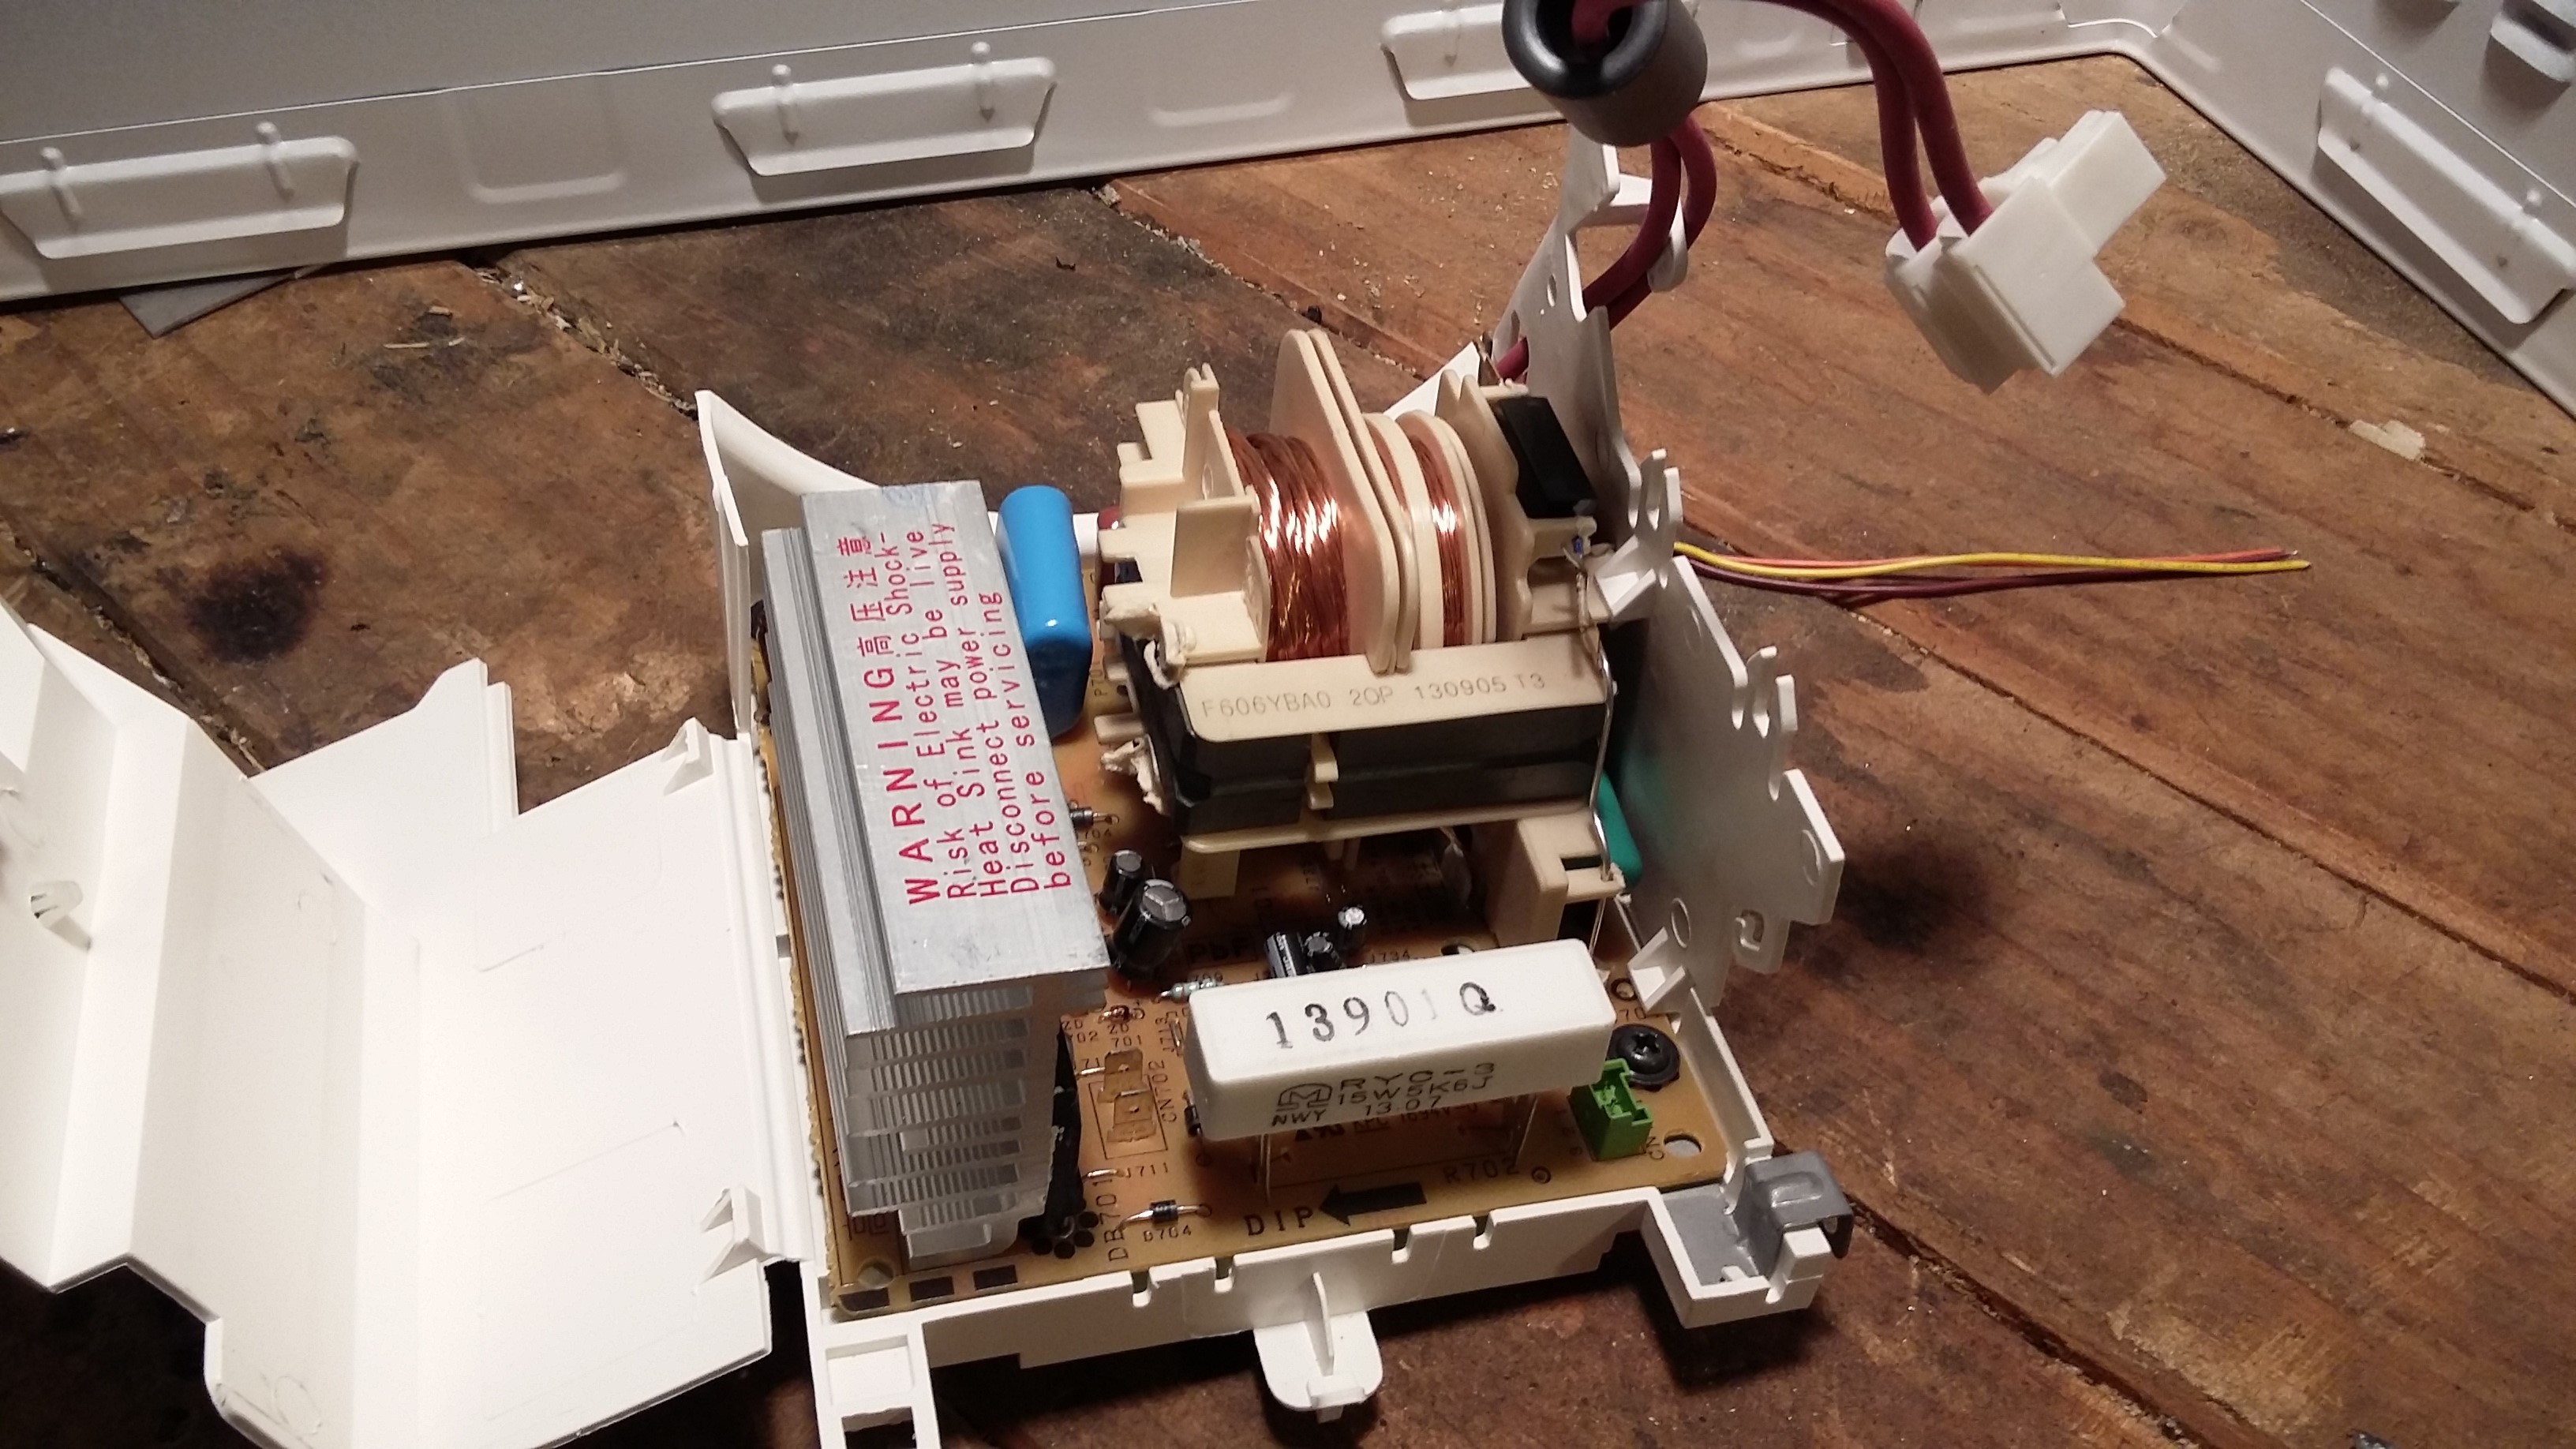
For something that is not meant to be user-serviceable all these components came out really easily. Here is what I was after

A little disappointed its a small plastic transformer. I was expecting something bulkier and with a stronger metal case. But I will try it anyway
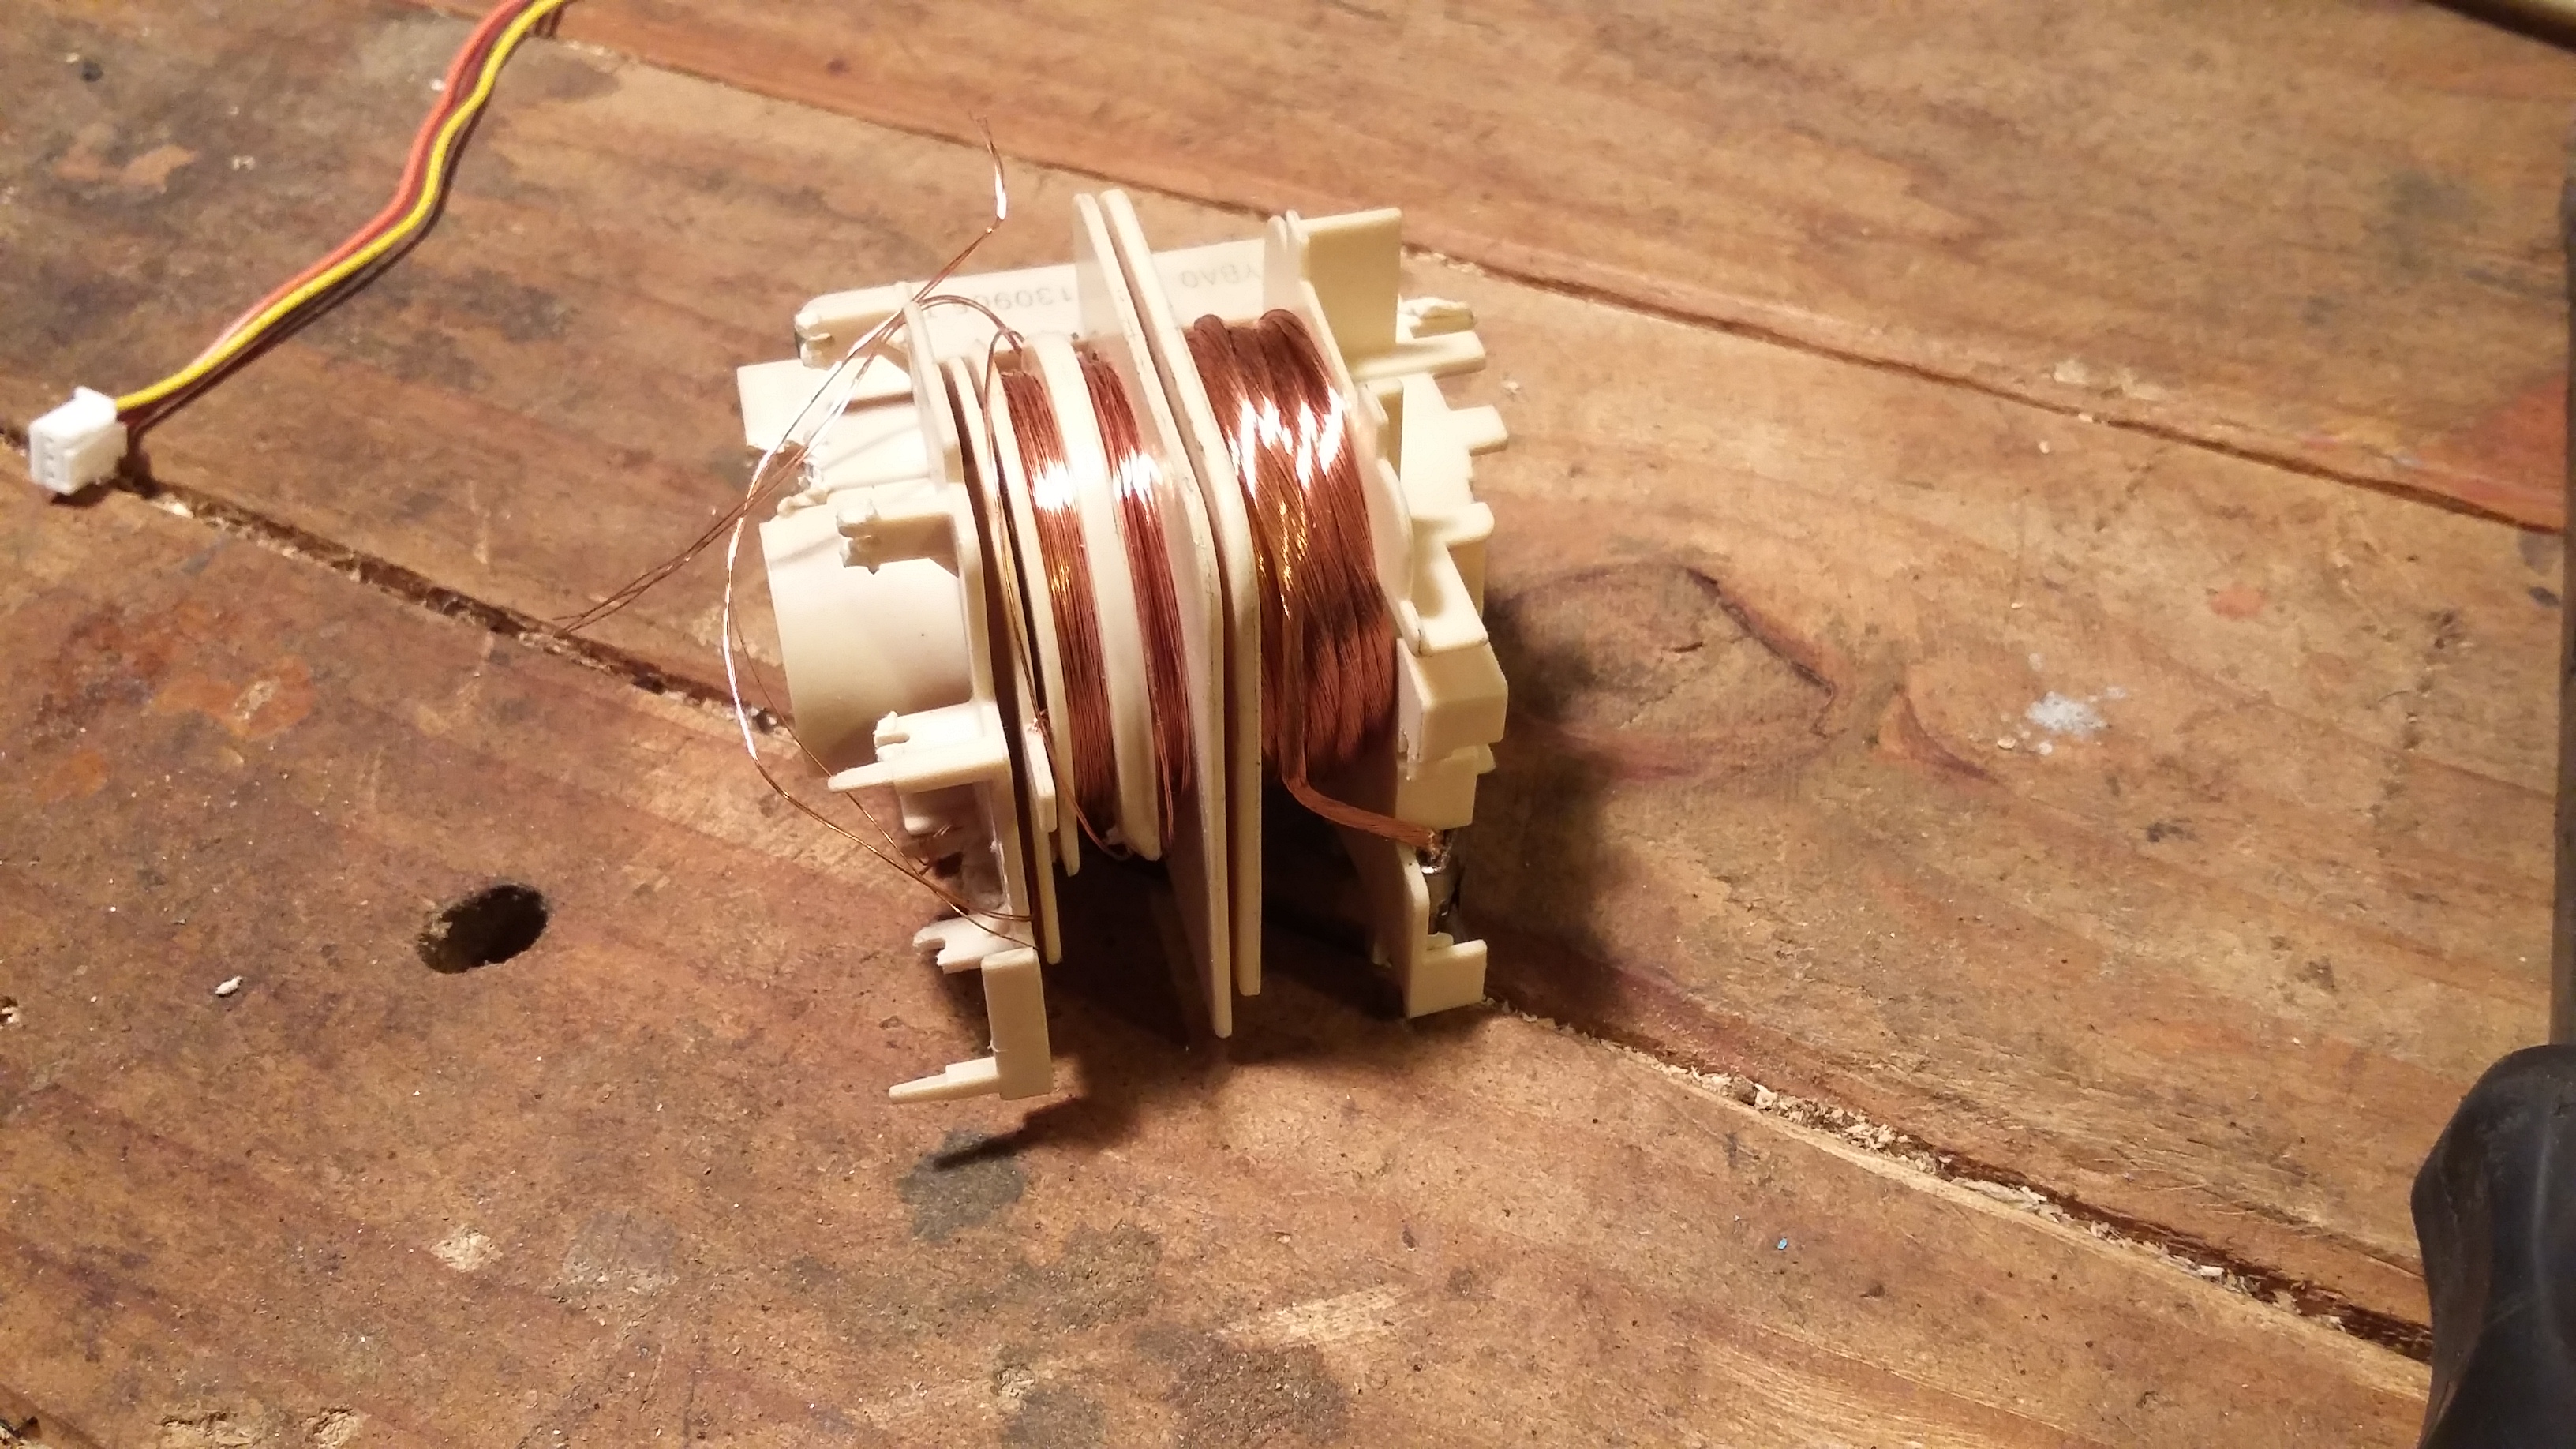
Removed it from the board

Removed the copper with some clippers and a screwdriver. the plastic is very brittle and breaks off easily, need to be careful

All the second coil removed
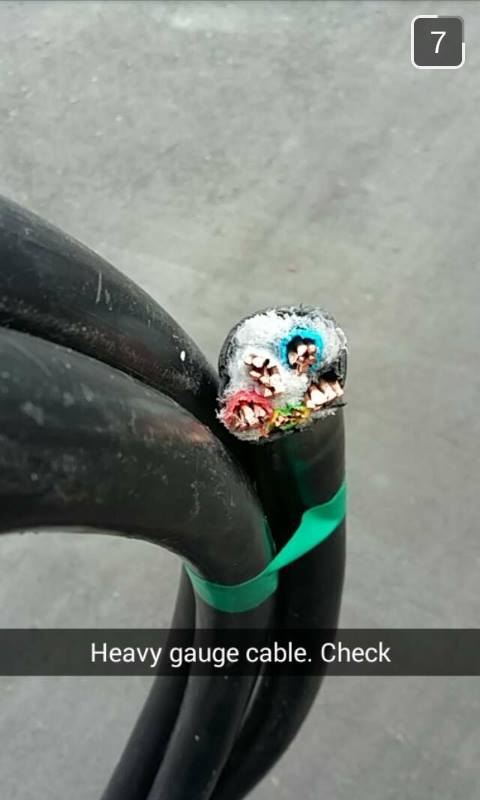
Picked up some heavy duty cable from scrap at work

Gave the secondary coil a winding to have a quick test

Wired up a cable to a chocolate block

It didn’t really work
Another microwave

and out of it a new transformer, much more like what I was looking for. I also bought a circuit breaker so I don’t necessarily blow the mains if this one is faulty too
Tagged broken, dissasemble, make, Microwave, recycle, spot welder
IR TV Control from an Internet Enabled Cellphone
http://pyrocam.com has a nice mashup of a few technologies about getting an InfraRed controller working over the internet, like with a cellphone from the last 10 years (infinite range home theatre control 🙂 )

An old laptop, WinLirc, and small controller board and a some custom software (soon to be made available I hope)
Feature: Worldwide control over any IR capable device (  :mrgreen:)
Cost: < $5 USD ( :mrgreen:)
Parts : old laptop or PC (capable of running XP) ( :mrgreen:)
check it out here
pretty choice